
In this guide we will be explaining how to use the MultiplayerSpawner in Godot.
This node makes replicating nodes for your multiplayer game simple and requires very little setup. Ensuring the state of your multiplayer game is all in sync is important to create a seamless experience for your players.
MultiplayerSpawner handles all of the spawning and deleting of its children nodes allowing you to focus on developing a fun game!
This guide was written using Godot version 4.3.
Prerequisites
For this guide you must be using at least Godot version 4.0.
Godot 3 is NOT supported for this guide.
You need to be comfortable with:
- Creating and adding nodes to scenes
- Navigating the Godot Editor
- Scripting objects in GDScript
- Multiplayer fundamentals of Godot
MultiplayerSpawner Node
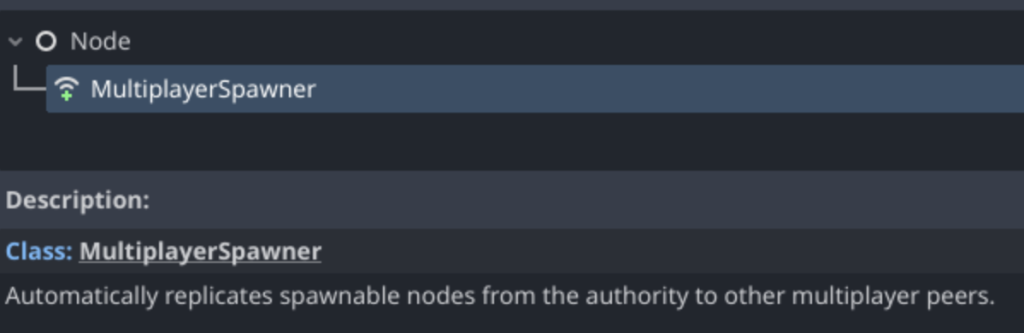
The MultiplayerSpawner is a one of the nodes introduced in Godot version 4.0, which simplifies the development of multiplayer games.
It is used to synchronize (spawn and delete) instantiated scenes from the multiplayer authority to all other connected players without any manual work.
In this guide we are instantiating our Enemy scene on the network authority and adding it as a child and setting up a new MultiplayerSpawner node. When our Enemy scene is instantiated by the authority, it will replicate and appear for all other player’s clients automatically.
Adding Synced Nodes
Creating the MultiplayerSpawner node
To add a new Scene to synchronize between all of your connect clients, firstly create your new MultiplayerSpawner node on your scene.
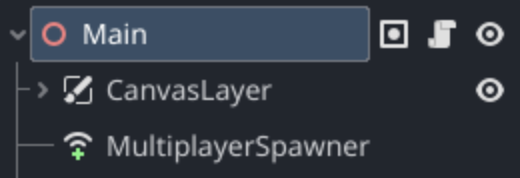
Now select your new MultiplayerSpawner node to show the settings in the right side Inspector window.
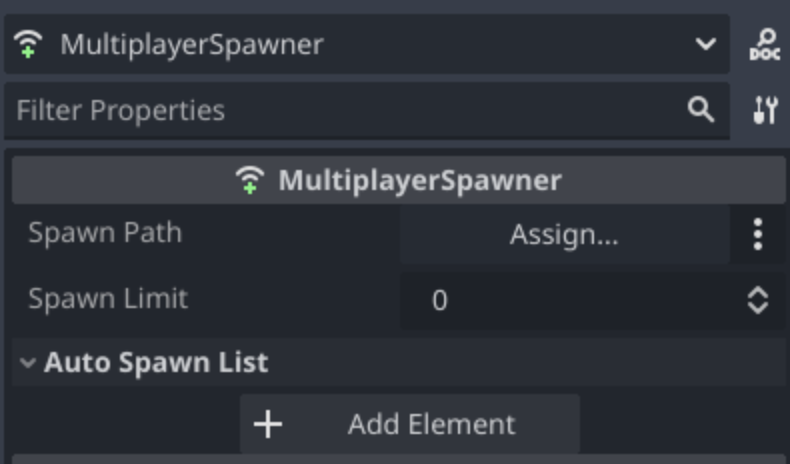
You can now see the MultiplayerSpawner settings, these allow you to configure the scenes that are synced across the network.
Assigning the Spawn Path
First is the “Spawn Path”. This must be set for the MultiplayerSpawner to work! This is the node which the MultiplayerSpawner looks for new children nodes to spawn.
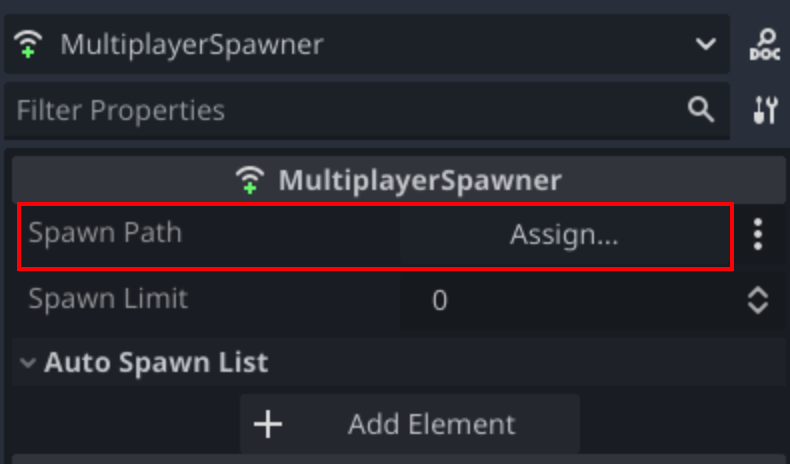
In this example we have a Node3D called Enemies which will have all the instantiated Enemy scenes. We click “Assign” which then allows us to pick the node.
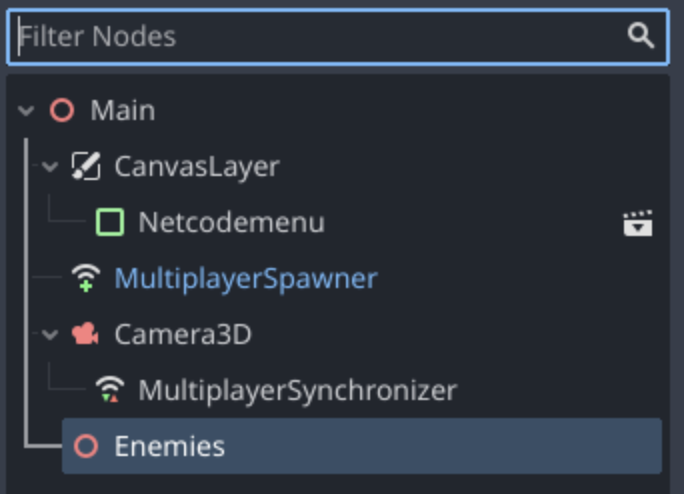
Now our MultiplayerSpawner “Spawn Path” looks like this. Now the MultiplayerSpawner node checks the Enemies node for children nodes.
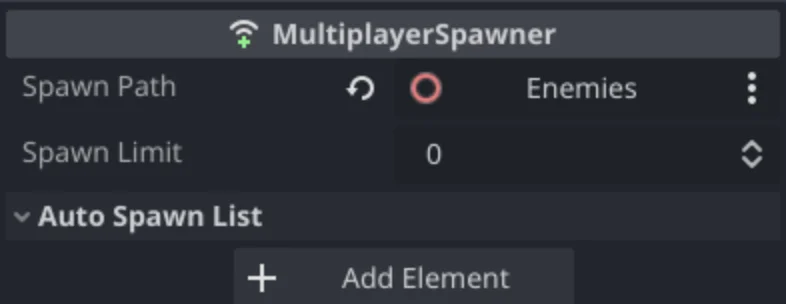
The next property is “Spawn Limit”. This is used to set the maximum amount of Scenes that can be spawned by this MultiplayerSpawner node. As we want to spawn all Enemies to spawn without any limit, we set this value to 0. A Spawn Limit of zero means it has no limit.
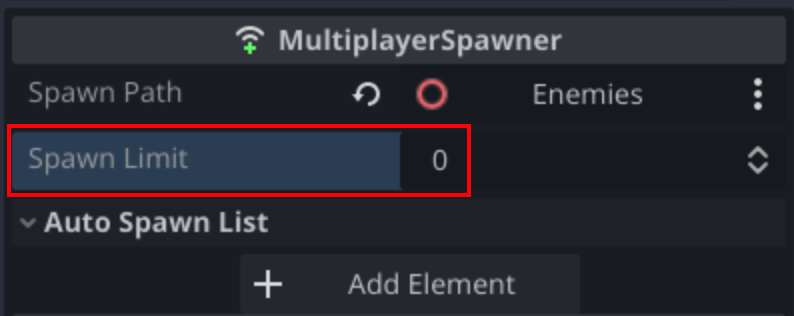
Adding our Auto Spawn List Elements
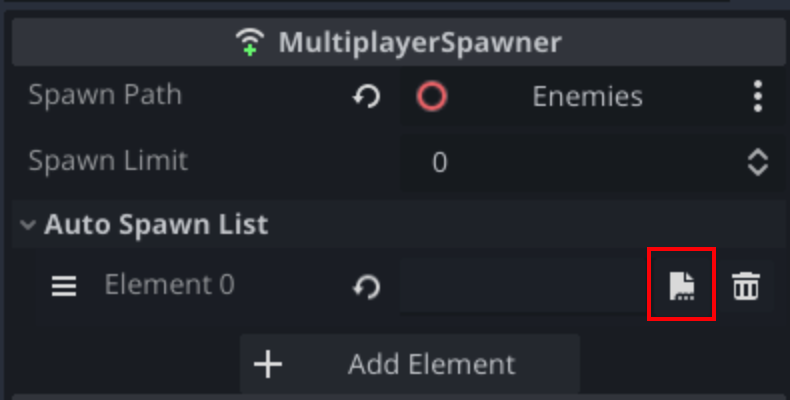
Now we have to tell the MultiplayerSpawner node which Scenes to automatically spawn. To do this we first open the Auto Spawn List drop down box and click Add Element.
This will create a new Spawn List element in the inspector window. As you can see the new “Element 0” in the list. This can be reordered with the drag button on the left and removed with the trash icon on the right.
We are interested in the “page” Open File icon to select the Scene we want to spawn.
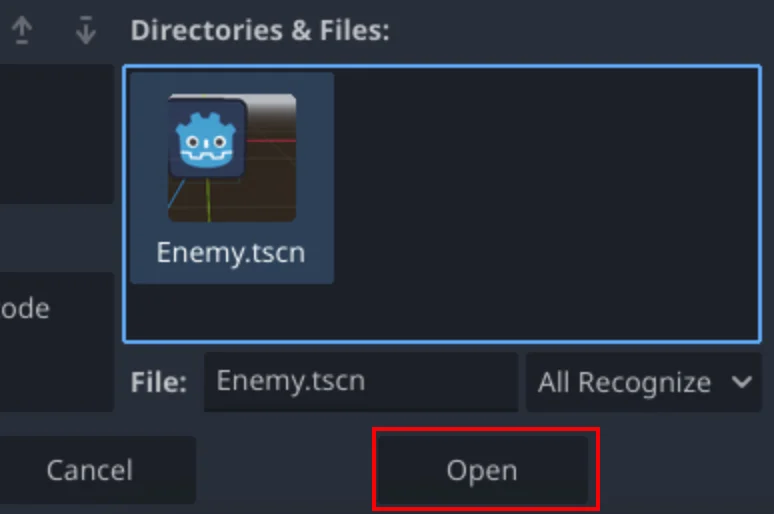
For this guide we are spawning a simple Enemy scene. For your project, choose the scene you have created that you want to spawn over the network.
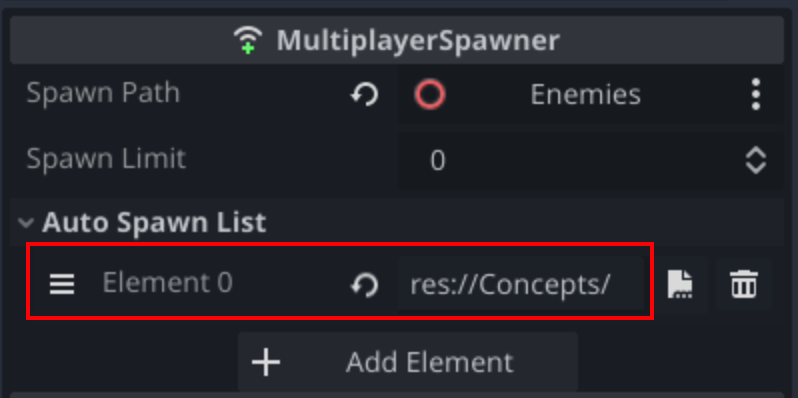
Back in the MultiplayerSpawner’s inspector panel, we now see the path to the scene we just selected.
Now our MultiplayerSpawner node is correctly setup, the final step is to spawn our selected scene through code.
Instantiating the Nodes on the Server
Like usual the first step is to get a reference to the scene we want to instantiate.
This is done by holding CTRL (Windows & Linux) or COMMAND (MacOS). Doing this correctly, Godot will automatically create a constant we can reference in our code as shown below.

IMPORTANT
When instantiating our scene, we NEED to do this on the authority. For most games this will be done on the SERVER.
If you instantiate a node you intend to use with the MultiplayerSpawner on a client that is not the authority, it will NOT synchronize between the players on your server.
We then instantiate a new object from our “ENEMY” scene constant, then add it as a child to the “Enemies” node that we chose in the previous Auto Spawn List step.

For multiplayer programming in Godot it is key to add “true” as the second parameter of the add_child function.
This “improves the readability of the added node. If not named, the node is renamed to its type, and if it shares name with a sibling, a number is suffixed more appropriately.” as explained in the add_child function documentation. We are choosing this as it allows us easily addressable names for our multiplayer netcode.
You can also queue_free this newly instantiated node on the authority and it will automatically be deleted on all other clients.
With all these steps completed you can now automatically spawn and destroy scenes across all connected players on your multiplayer Godot game.
Demonstration
In this demonstration, the authority instantiates the Enemy scene every time a player joins the server. The MultiplayerSpawner node detects this and spawns the scene on all other clients.
You can see once the join button is pressed, the Enemy is spawned on all clients showing the health and Godot sprite.
Conclusion
Following this guide, we now know how to use the MultiplayerSpawner in Godot!
Now we have a custom Enemy scene being instantiated on the authority and automatically instantiated on all connected players’ clients.
Synchronizing the spawning and deleting of scenes and objects is an essential part of multiplayer game development and with this knowledge you can begin to implement the fundamental network code needed to make your Godot project!
MultiplayerSpawner handles both spawning and deleting of scenes making it the best and easiest way to keep your game objects in sync across all of your players.
Another important aspect of multiplayer game development is the replication properties (variables) to all players in your game. For example, synchronizing the health of an enemy to all players connected. Click here to read our guide on how to use MultiplayerSynchronizer in Godot
Further Reading
We recommend having these resources at hand when working with the MultiplayerSpawner and other Godot multiplayer nodes:
The Godot 4.0 official introduction to multiplayer article
High Level Multiplayer in the engine Godot 4.x Stable documentation
Leave a Reply