
A main menu is often the first thing players see when they start your game. Even a simple interface can add polish and give your project a complete, functional feel.
In this guide, we will walk through how to create a basic main menu in Godot with three core features:
- A Play button to start the game
- An Audio On/Off toggle
- A Quit Game button
This is a beginner friendly setup that can be extended later with more advanced functionality such as detailed settings or save systems.
Prerequisites
This guide assumes that you know at least the basics of how to use the Godot editor.
We encourage you to continue this guide regardless of your knowledge but reading our guide on Signals would give you a deeper understanding of the later steps.
Creating the Main Menu Scene
We are starting this guide with an empty project, but you can go through this guide with an existing project!
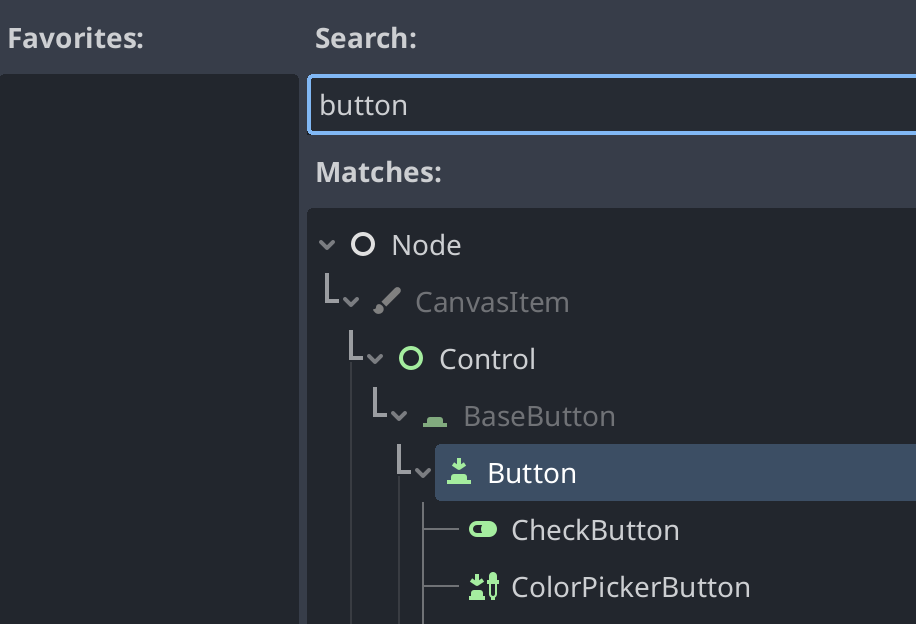
Firstly, start by creating a new scene selecting “Other Node”.
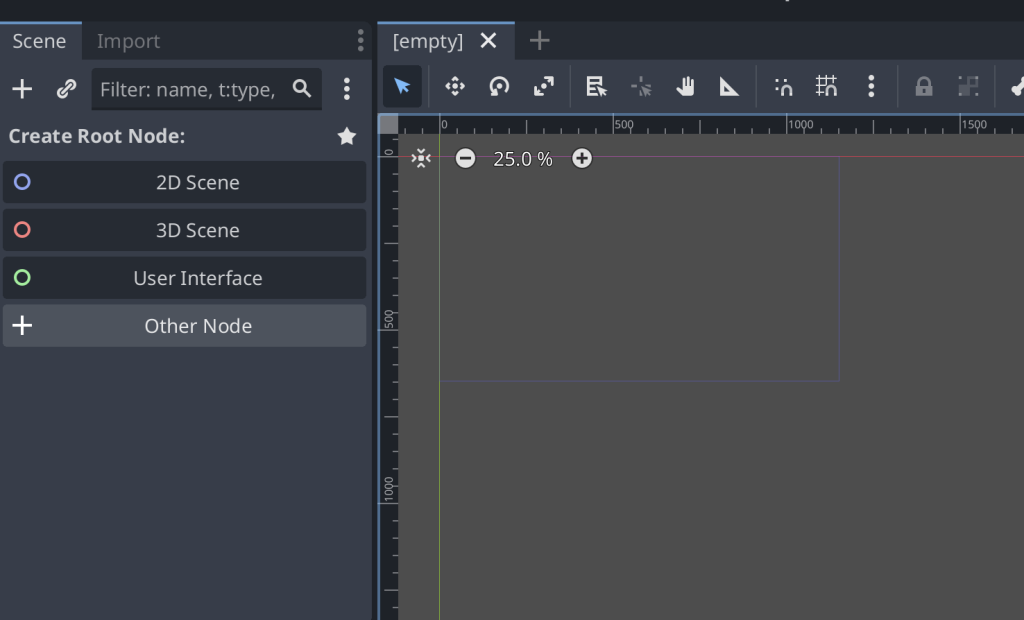
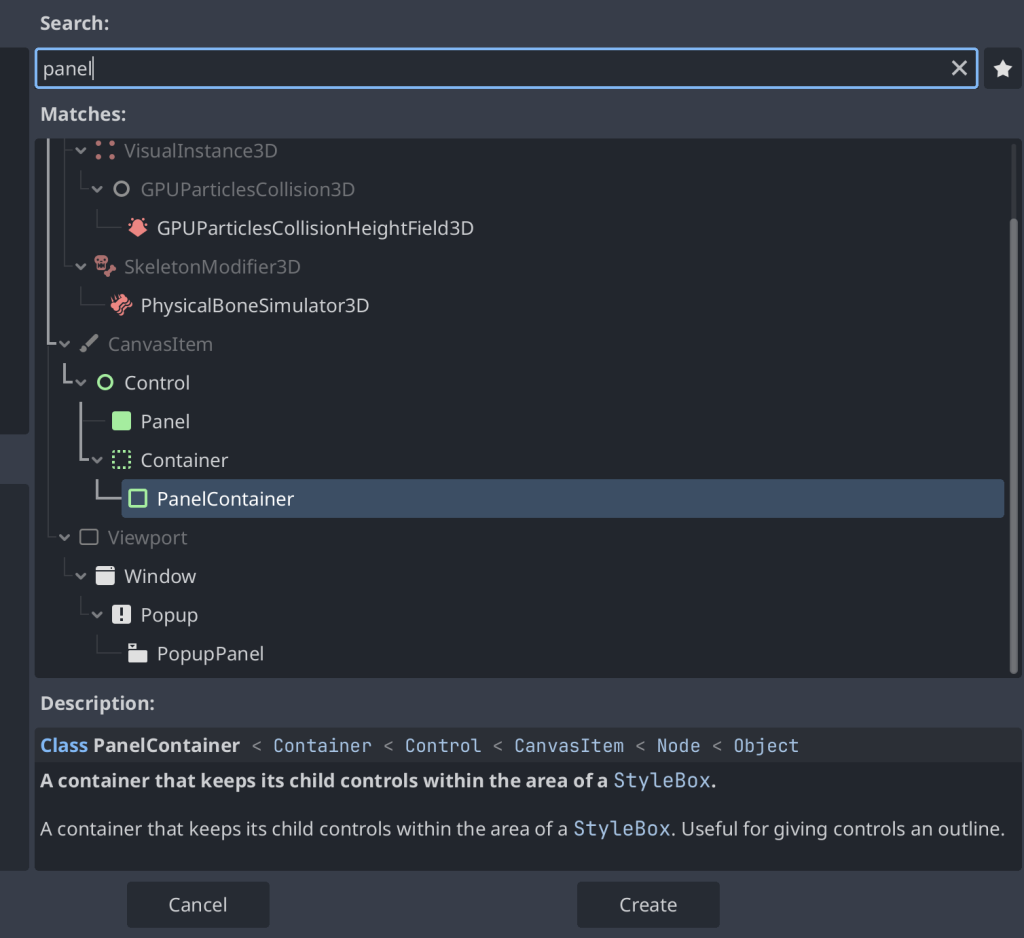
We then choose panel container as our base class. Panel container houses all of our nodes inside of a box that can be styled using the editor.
If you want the background to be transparent, simply choose Container.
Once this has been chosen, we then press the create button.
Next, give your new scene a name and press the Save button. In this example we called our scene main_menu.

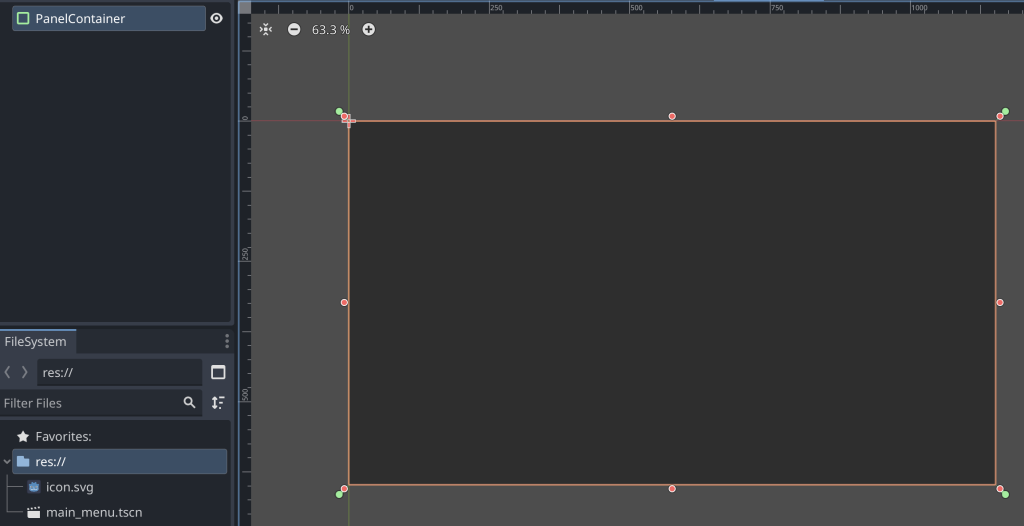
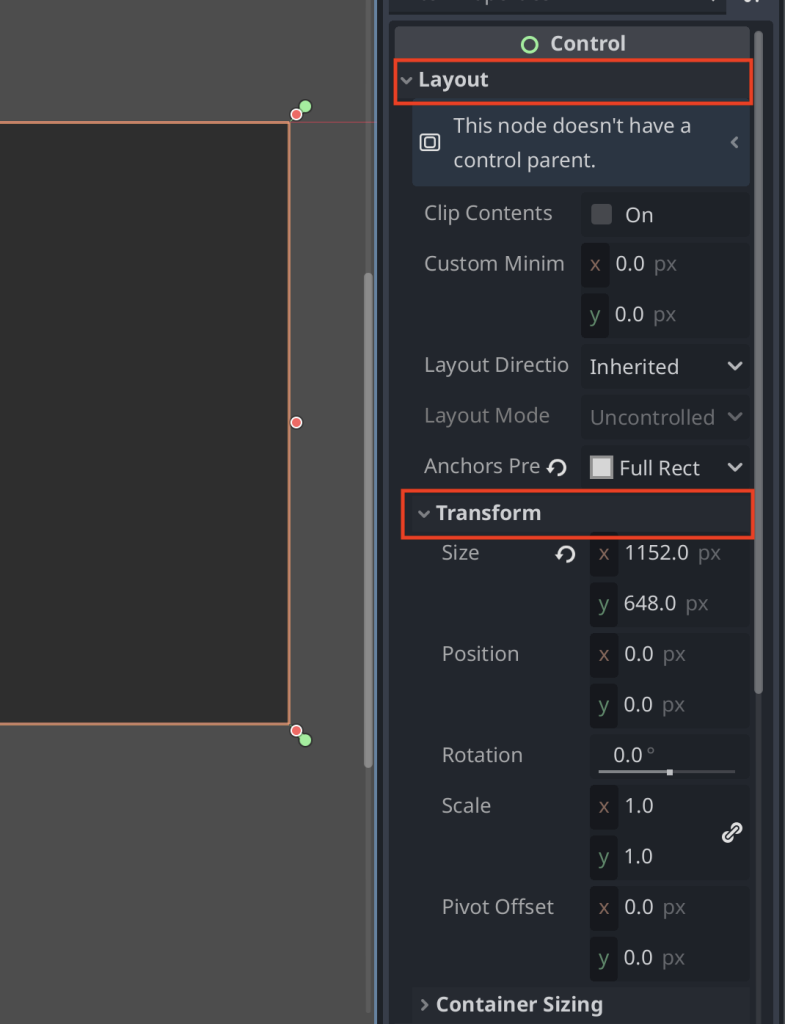
Now the editor should load your scene in the 2D viewer. To make our new main menu larger we click the anchors button on the top row and select “Full Rect”.
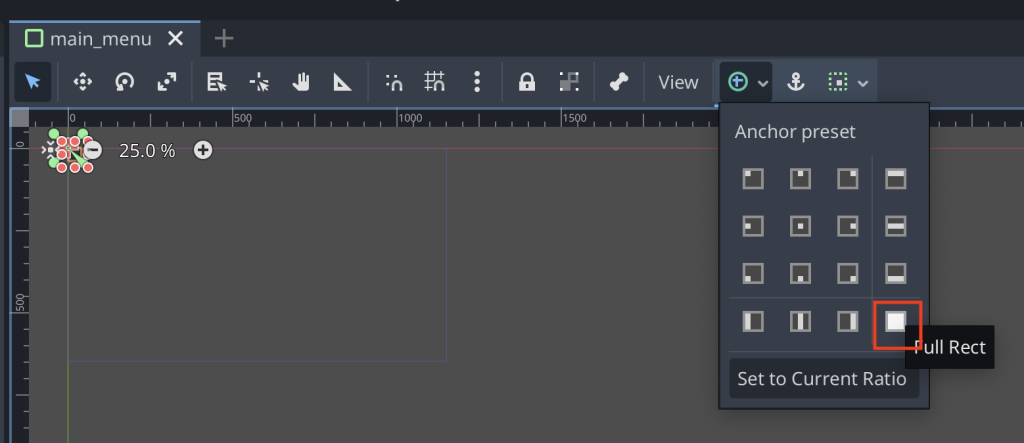
With this change we can see our menu panel container is now as big as the entire viewport window.
As we don’t want the main menu to cover anything we may want to place behind our menu (3D scene of the game for example), we click Layout and then Transform to open the Transform options.
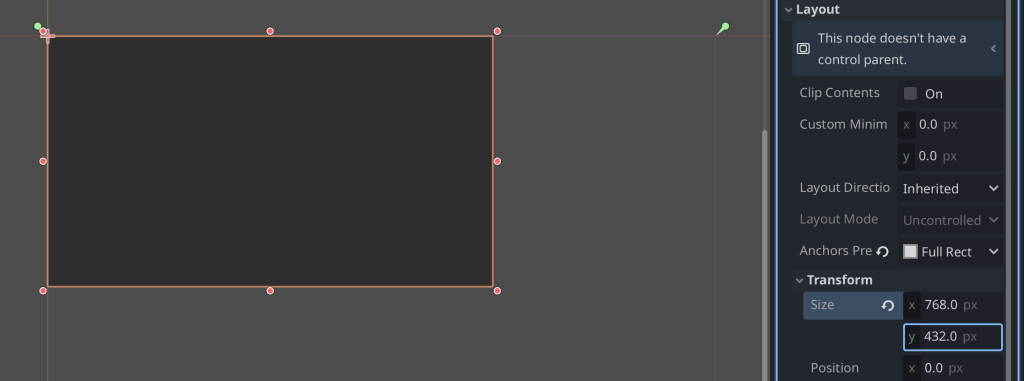
We then set them to 768 on the X and 432 on the Y. On the screen you now see the main menu changing size.
However now with this change you can see the main menu is no longer centered.
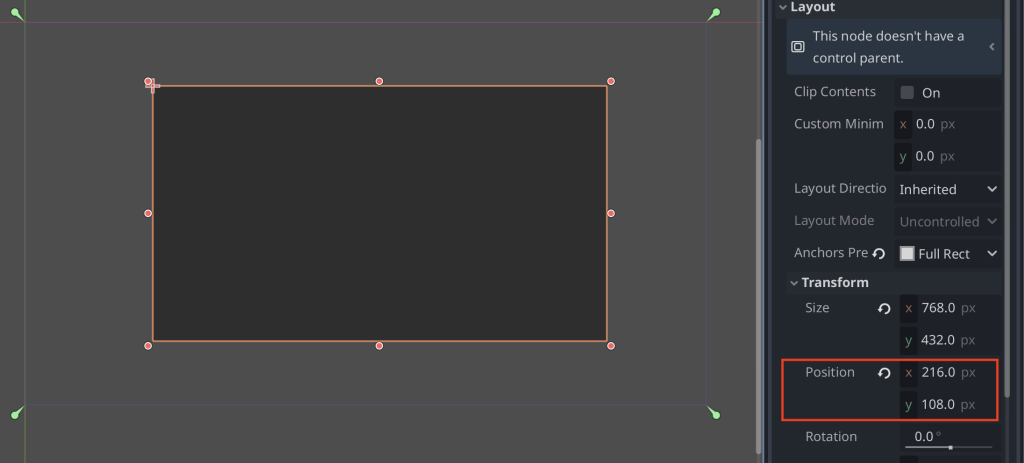
We then next change the “Position” parameter of our Panel Container to 216 on the X and 108 on the Y. This now centers our menu on the screen!
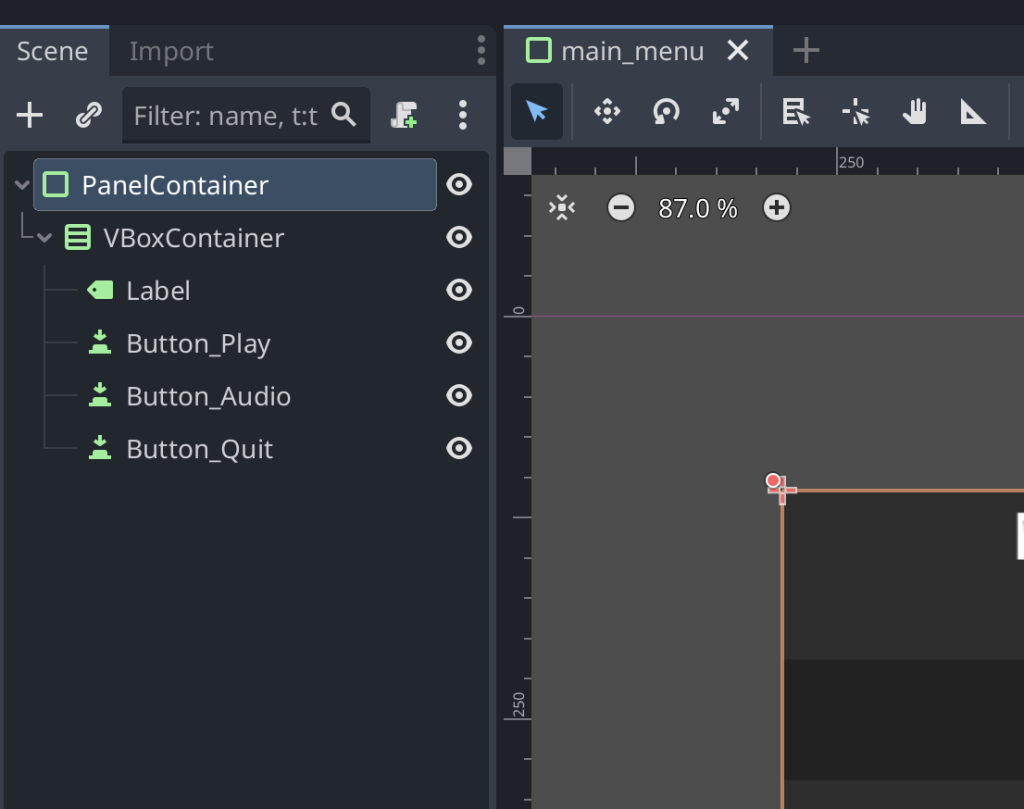
Now that our Panel Container is setup correctly, we then need to add a container to nicely layout our menu. To do this simply right click the Panel Container and click Add Child Node.
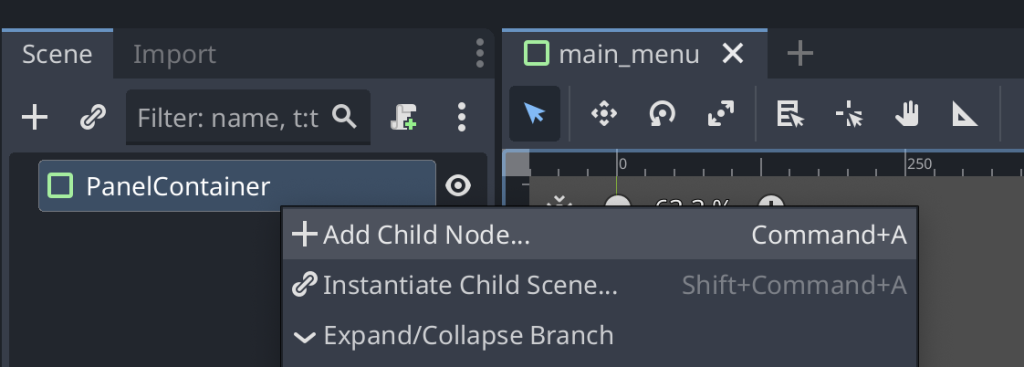
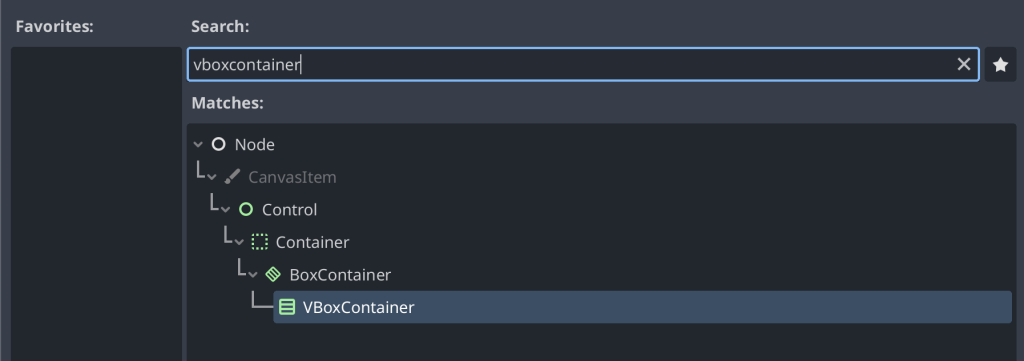
Lastly, we want to add a VBoxContainer. This will automatically arrange our menu elements vertically inside of the Panel Container.
Adding the Title and Buttons
Now that we have our layout working nicely, we need some elements in our main menu!
For this guide, we are adding a text title and three buttons.
This can be done similar to before however by right clicking our VBoxContainer instead this time. We then click the Add Child Node option.
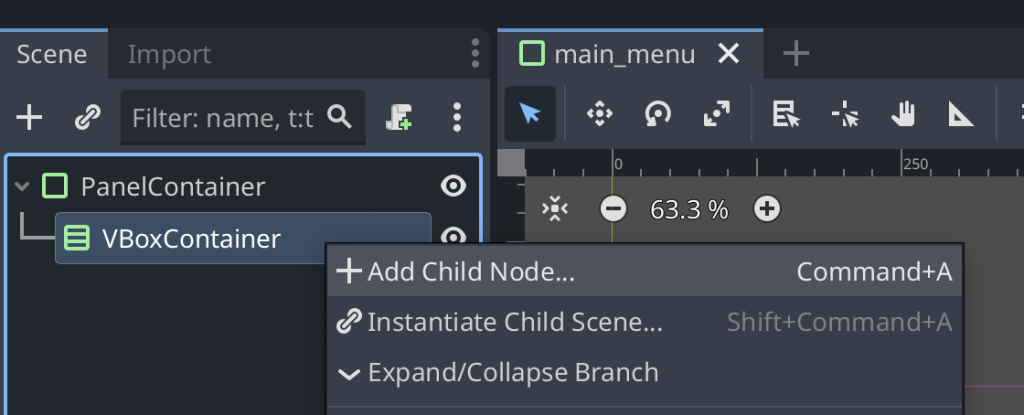
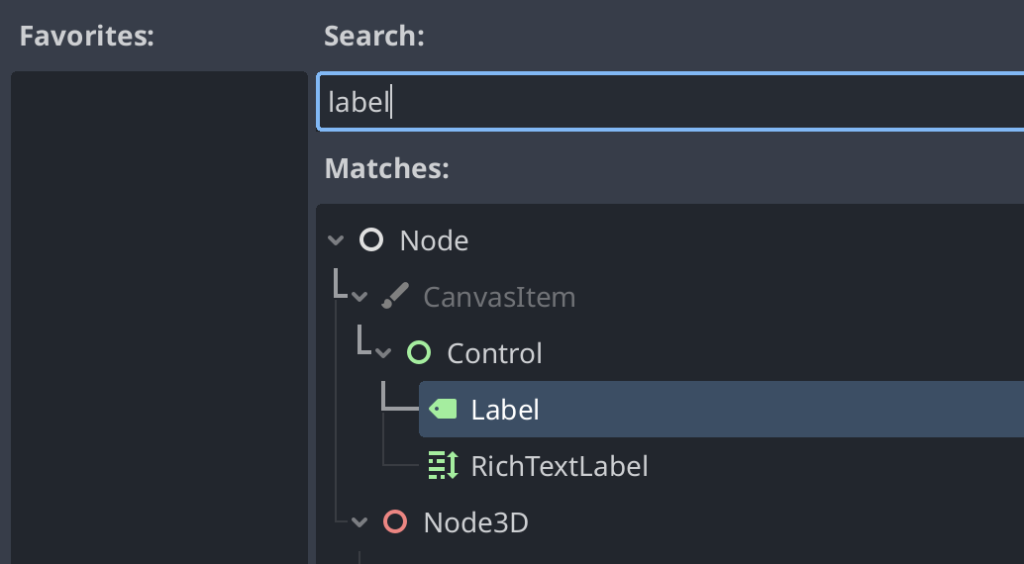
First, add a Label node to the VBoxContainer. This will be used for our Game Title Text.
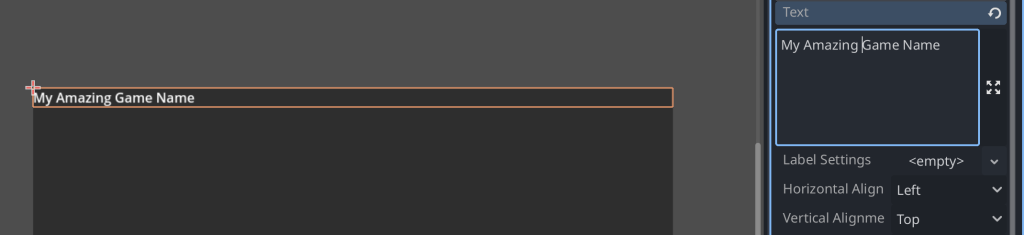
Now that our Label has been created we can change the Text property. This is done on the right side of the editor window.
Simply type the name of your game into the text box and it will appear on the text in the main menu!
Our title is now aligned to the left of the screen. We now need to center our text.
We do this by looking for the Horizontal Align property on the right side of the editor and setting it to Center.

Now that we have our Title text, we need some buttons for our player’s to interact with!
Same as before, right click the VBoxContainer and add a button node to it.
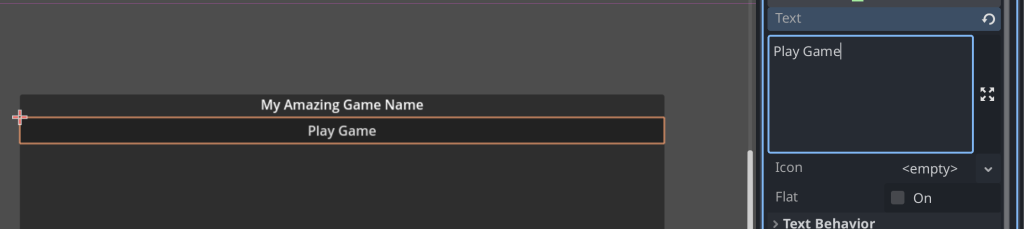
We can now see our button in the menu, we can set the text similar to the Label.
As this is our Play Game button we can then set the Text to Play Game.
Repeat this with two more buttons, one for Sound, and another for Quit Game.
We have also right clicked the buttons on the left side of the editor and renamed them to make it easier to identify them for a future step.

Now we can focus on making our main menu nicer to look at!
Click the Label in the top left of the editor and then scroll down on the right of the editor. Click the drop down menu for Theme Overrides and then find the Font Sizes. We have set this to 40px as it looks good on our display.

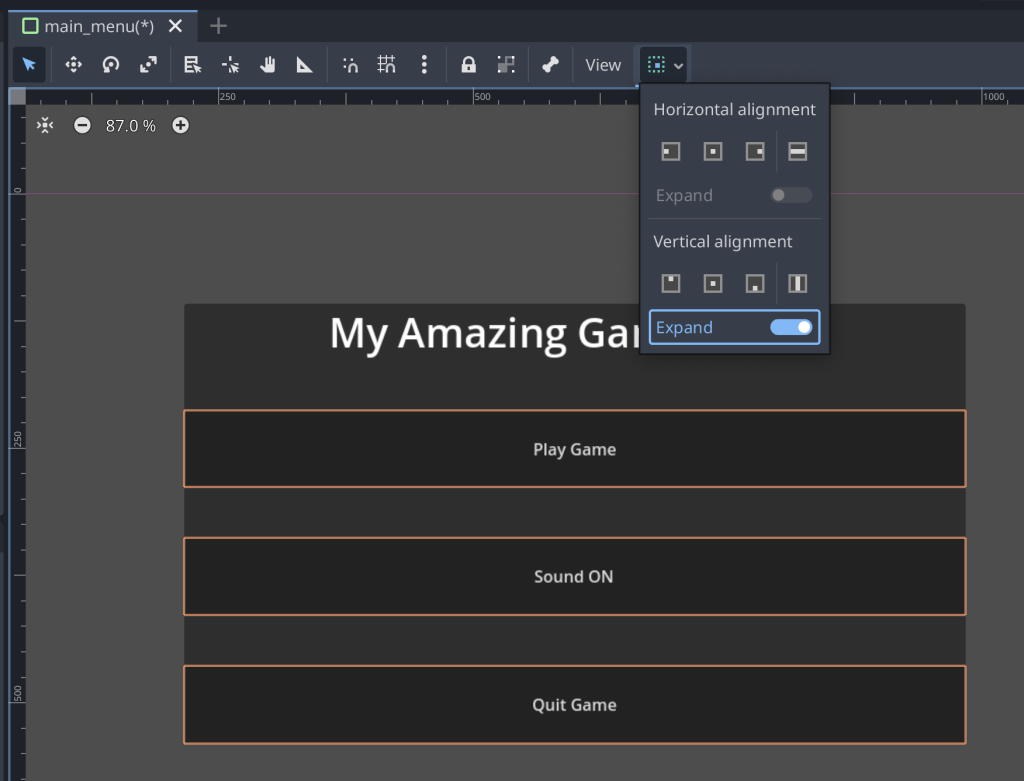
The title is looking good now but our menu buttons are looking small. We can fix this by clicking the alignment box in the top editor bar, and then clicking Expand on the vertical alignment section.
This makes our buttons fill the space better when there are different screen sizes!
Adding a new Script
We have our main menu looking nice but now we need to add the functionality for our players!
To do this we use Godot’s scripting system. Firstly click the Panel Container on the left of the editor.
Then scroll down to the bottom on the right of the editor until you see the Script option.
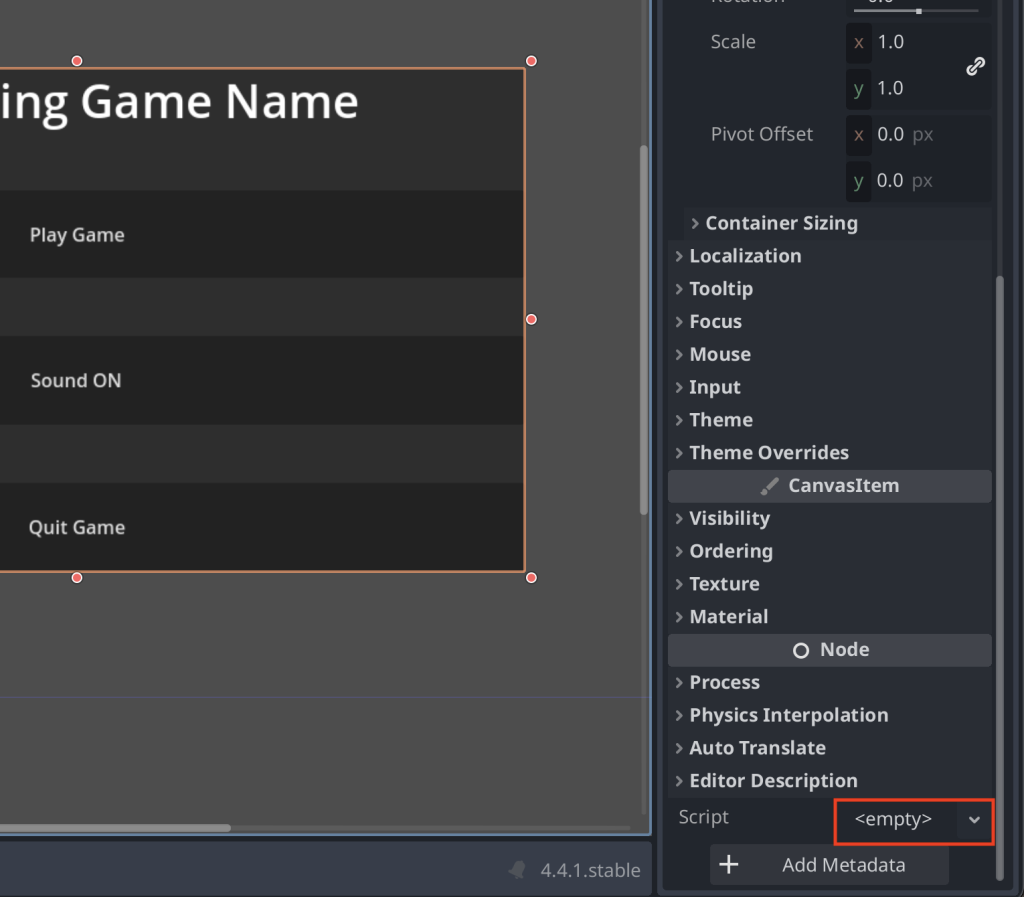
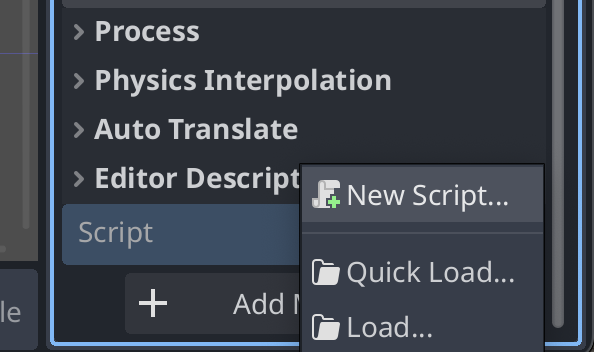
Click the drop down box next to the <empty> text and then select New Script.
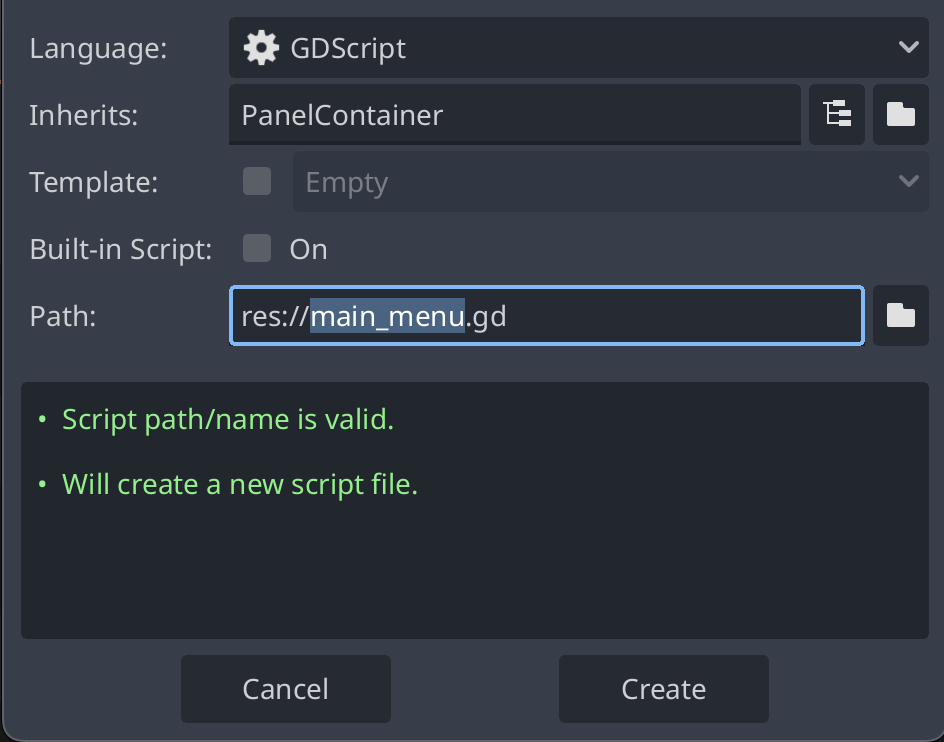
Give the new script a name and then click Create.
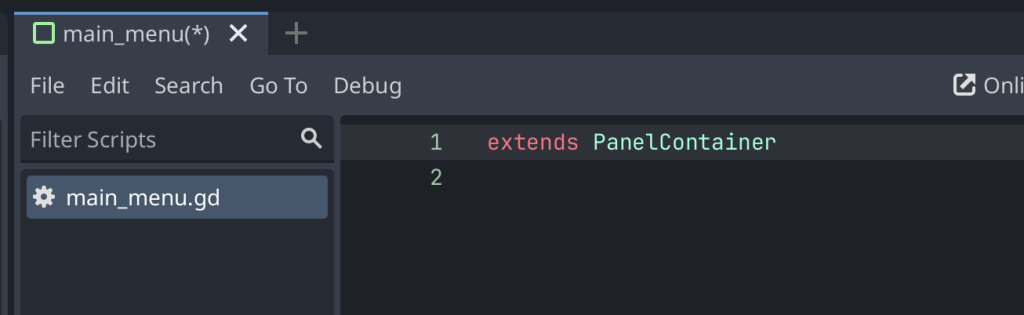
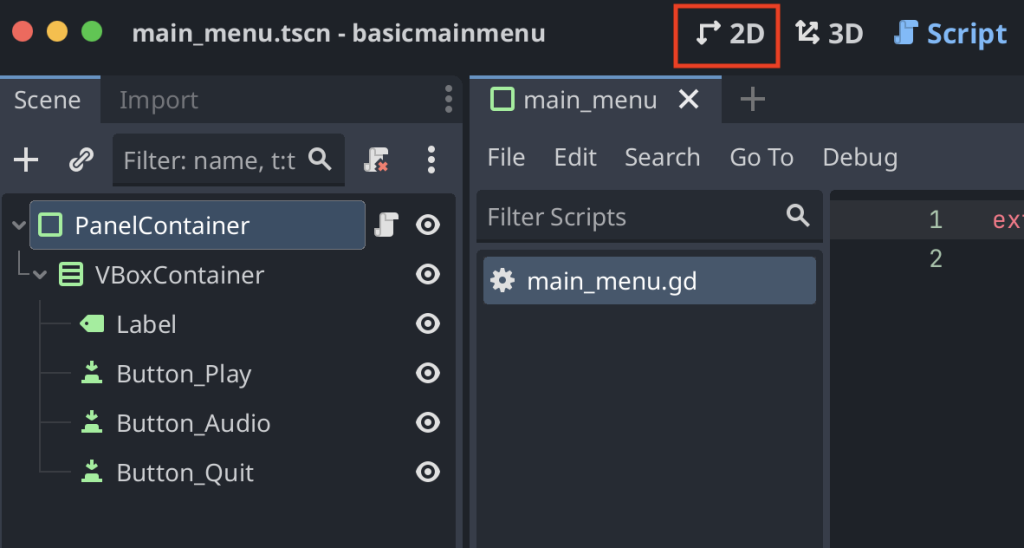
Now the editor will load our new script into the Script viewer.
Now that we have our script created, we need to return to the 2D viewer by clicking the 2D button at the top of the editor.
Connecting Button Signals
To connect our buttons to the script we need to attach a function to the buttons “pressed” signal.
This means that when our buttons are pressed, the editor runs code on our script automatically!
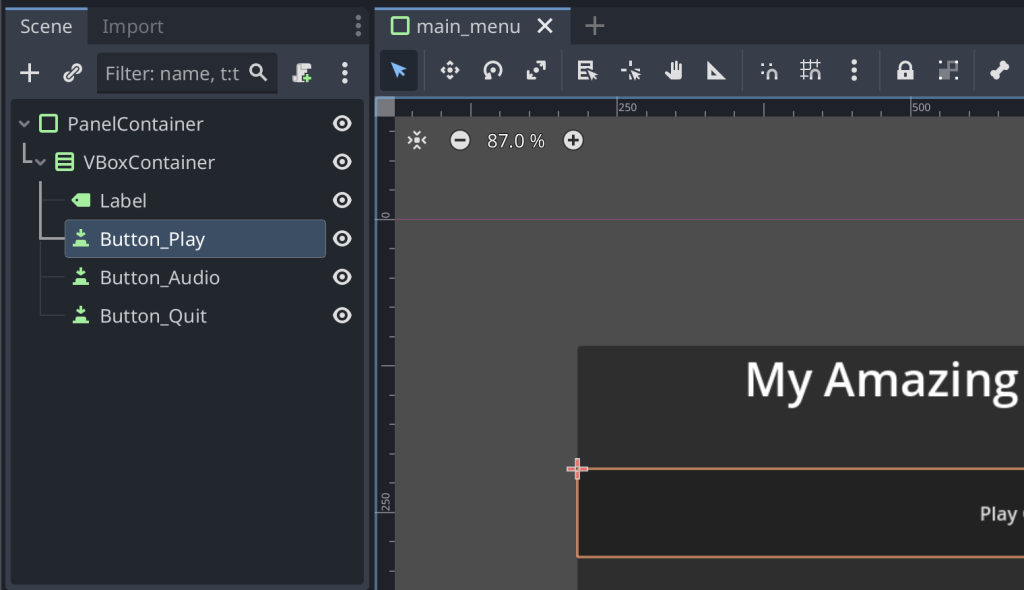
To achieve this we first click our Play button.
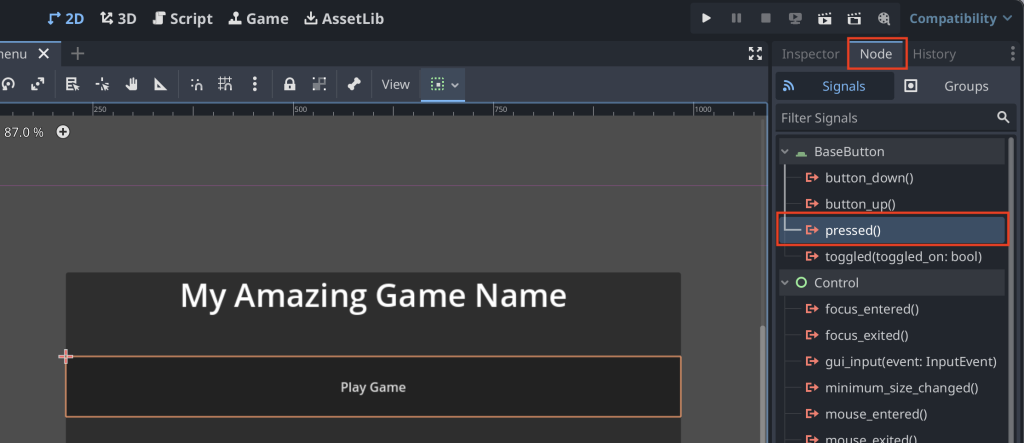
Then find and click the Node tab on the right of the editor. We then can see the pressed() signal.
Double click this pressed() option.
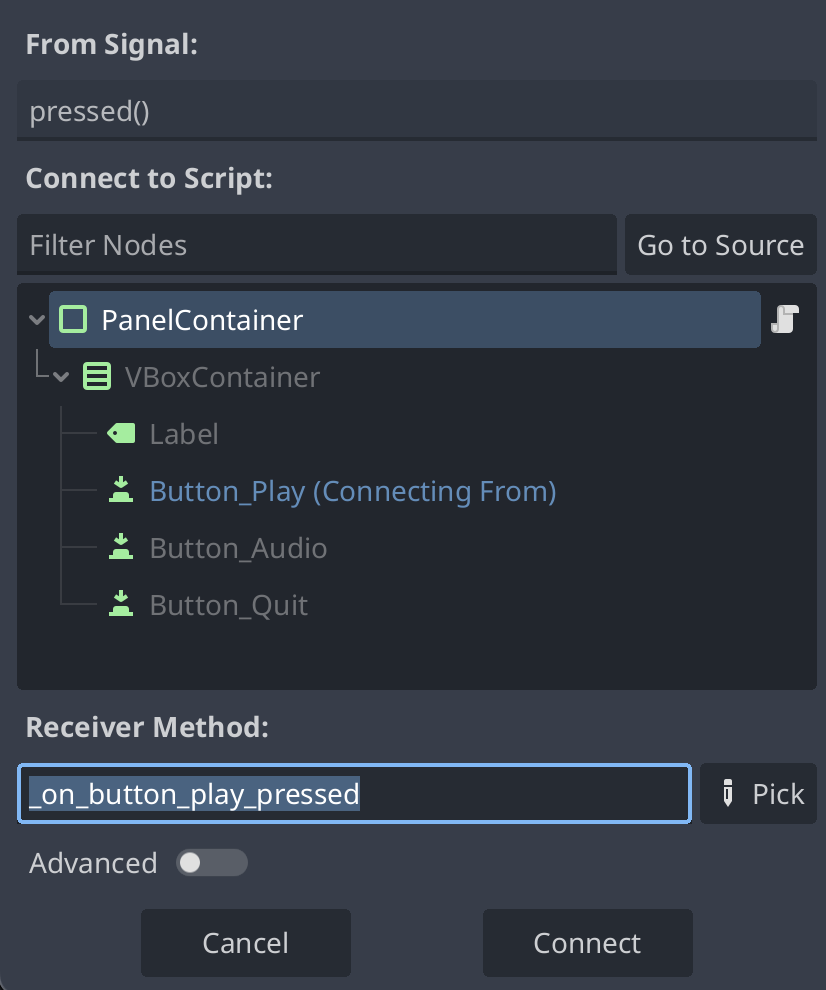
We should then see a menu that automatically create a function for us and connects it to the script!
None of the options have to be changed in this menu, simply press Connect!
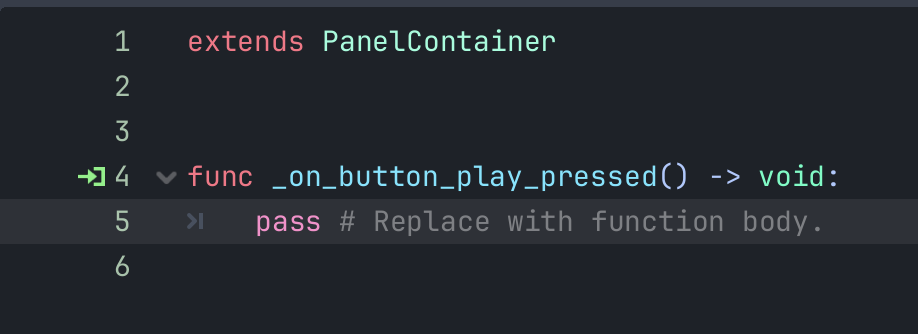
The editor will move to the Script viewer again and show us our newly created function!
Any code inside this function now automatically runs when our Play Game button is pressed.
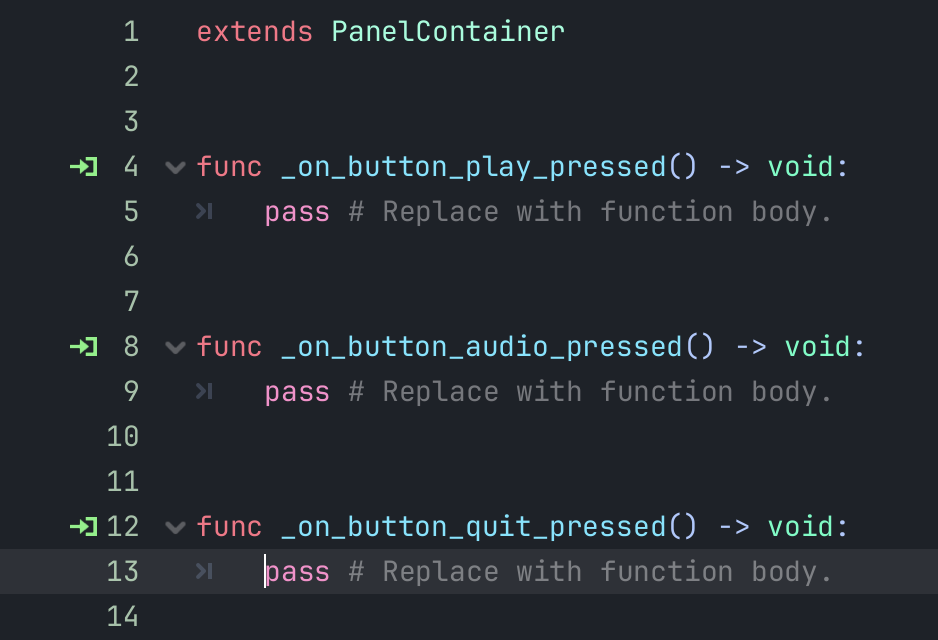
Repeat the previous steps but for the Audio and Quit Game buttons.
Adding the Functionality
Our buttons are ready but do not have any code inside of them to run. The next step is to add the necessary functionality for our buttons!
Start Game
For our Play Game button we need to tell the engine to change our main menu scene with our game scene.
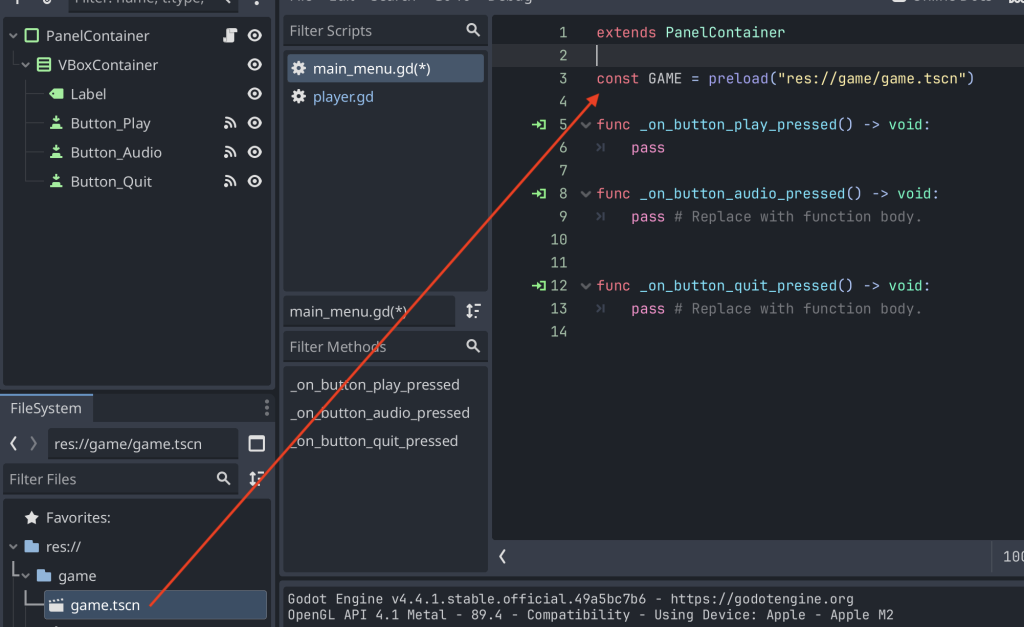
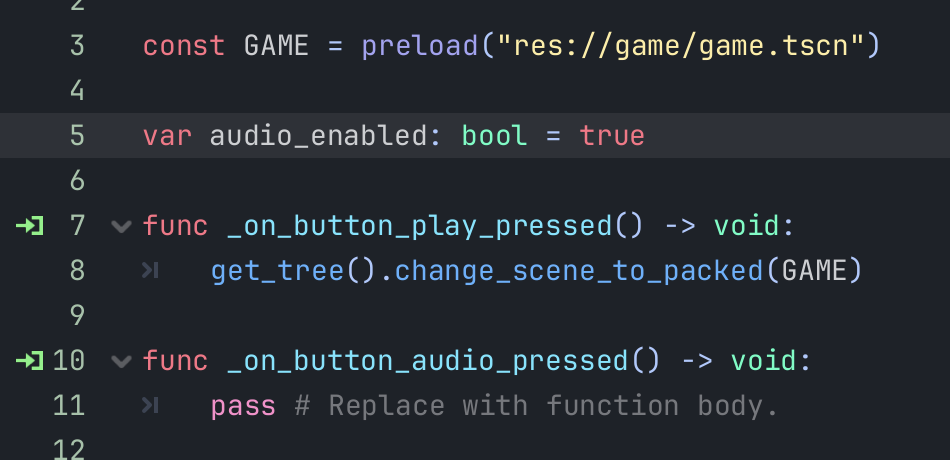
We first need to get a PackedScene reference to the Scene our gameplay is inside.
We created a simple 3D scene for our game and added a player and basic level geometry.
To get the PackedScene reference, we simply hold CTRL + Shift (CMD + Shift on Mac) and drag our node into the script window.
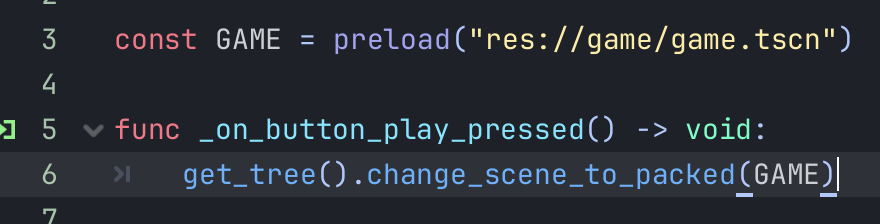
Now that we have the reference to our GAME scene, we can then add one line of code that removes our main menu scene and loads our game scene!
Now our play button has functionality, we need to make sure that Godot will load our main menu when the game first loads.
We can do this by right clicking our Main Menu scene in the FileSystem and clicking Set as Main Scene.
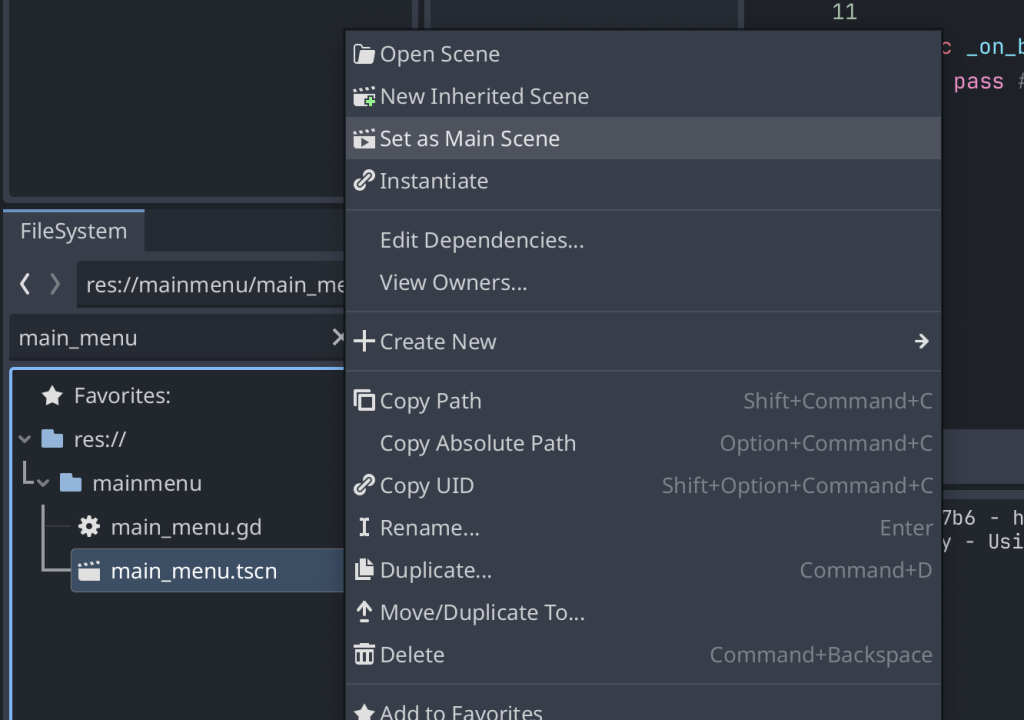
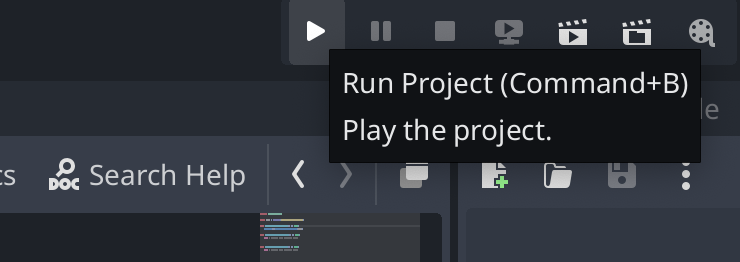
Now when we click Run Project our main menu is the first scene that is loaded!
Audio Toggle
Godot has a great system for managing audio. This is called the AudioServer. We are going to communicate with this system to mute and unmute all audio in the game.
First we need to add a new boolean (true or false) variable to our script. This keeps track of the current state of our audio (If it is disabled or enabled).
Next, inside our button_audio_pressed function, add the following line.
This code sets the value of audio_enabled to the opposite of itself. This means if audio_enabled is True then set it to False, If it is False set it to True!

Now we need to communicate with the AudioServer to mute the main “bus”. An audio bus is what the engine sends all sounds to. Because we are using the number 0 in this function, this means we are adjusting the “main bus”.
We then set this bus’s mute state to the opposite of audio_enabled. This means that if audio_enabled is True we want to unmute audio bus 0.

We then want to make a reference to our Button_Audio node by holding CTRL + Shift (CMD + Shift on Mac) and dragging our node into the script window.
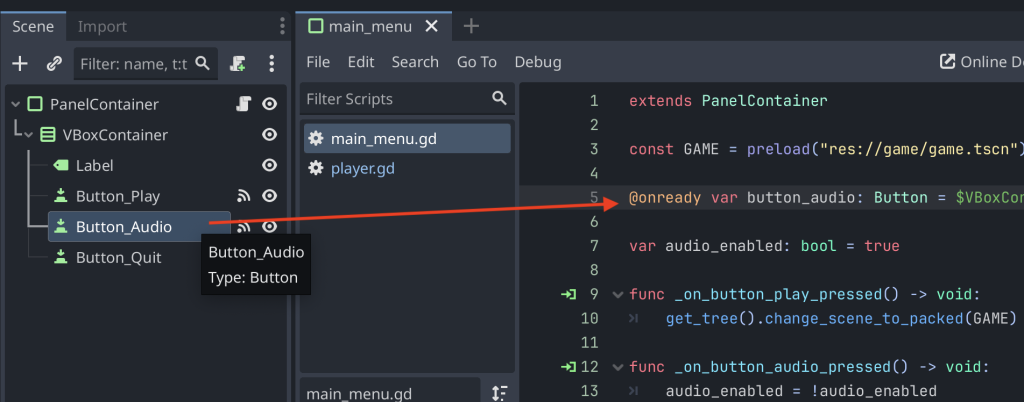
We then set the text of our button audio to “Sound: On” if our audio_enabled is True. When audio_enabled is False, we change the text to “Sound: Off”.

Lastly, we need to add an audio source to test our new audio toggling button!
We are adding a simple sound effect but this can be any main menu music or ambience that your game needs.
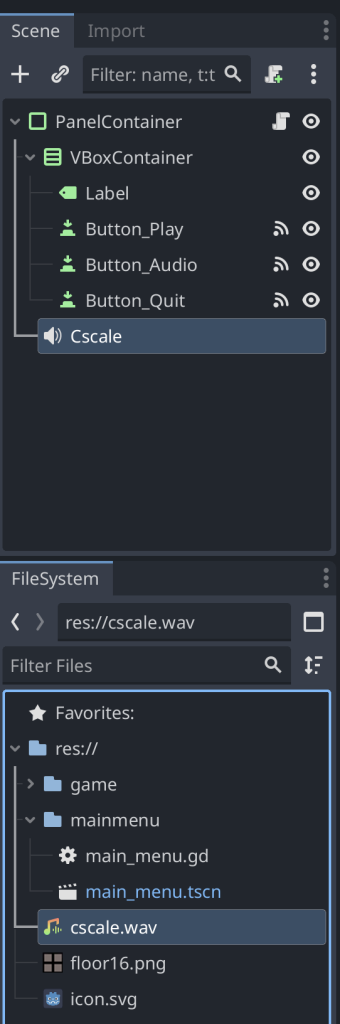
The easiest way to create the audio source is to drag your sound file from the FileSystem into the PanelContainer.
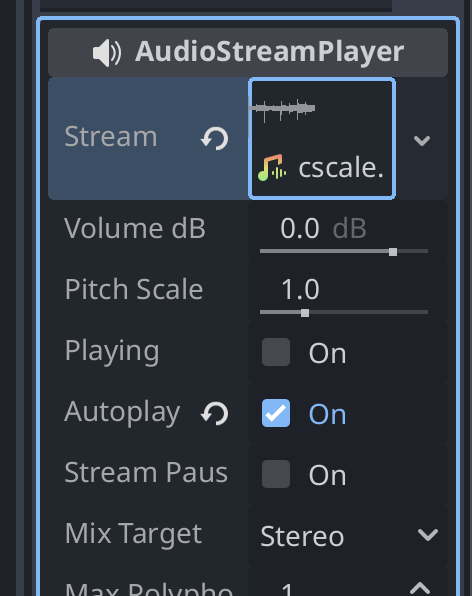
We then set the audio stream to our sound effect.
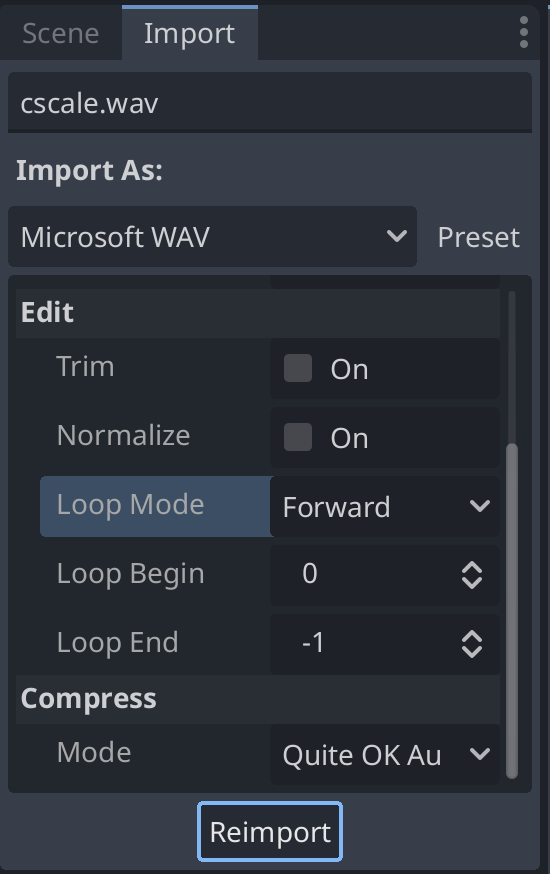
And for our sound, we set the looping mode to Forward so our main menu sound loops forever. We then click Reimport to save our changes.
Quitting the Game
The final step is to make the game close cleanly when the user presses the Quit Game button.
We can achieve this by simply typing the following line into our button_quit_pressed function.

As you can see from the other buttons, the get_tree() function has a lot of useful functions inside to handle our game!
Demonstration
If all done correctly, your main menu shows your game name, audio can be muted and unmuted, the game can be started using the Play Game button, and the game can be cleanly closed using the Quit Game button!
Project Files
Conclusion
You’ve now created a basic but functional main menu in Godot. It allows players to start the game, toggle audio, and exit cleanly. This setup is a strong starting point for further enhancements, like animated transitions or settings screens.
Taking the time to build even a simple menu brings your project closer to feeling like a complete game.
Well done on taking this important step!
Leave a Reply