
Exporting your Godot project to a Windows executable is the way to convert your game project into a version that can be shared with others.
From a small prototype or a finished title, packaging your game and testing throughout development ensures that your game will run well on Windows based systems.
In this guide, we’ll walk through the full export process in Godot. From configuring your export settings to generating a working .exe file.
By the end, you’ll have a standalone version of your game that’s ready to distribute to others!
Prerequisites
This tutorial is written for developers using Godot 4 and focuses specifically on Windows as the target platform.
This guide requires you to have installed the export templates to your version of the Godot Engine.
If you do not have these installed, click here to read our guide on How to get Export Templates for Godot.
Setting up the Windows Export
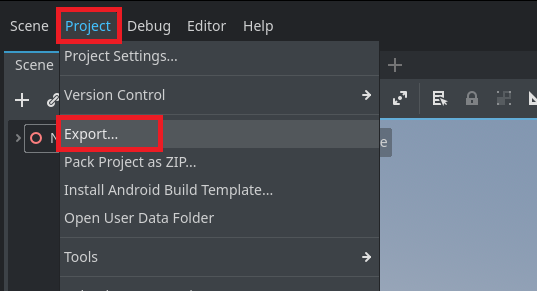
To setup our Windows Export preset, we first have to open the export menu by clicking Project then Export in the top left menu of the editor.
Then we click Add in the top of the Export menu and click Windows Desktop.

Now you should see a new a new Windows Desktop preset. We can change the name by changing the text in the top “Name:” section of the window.
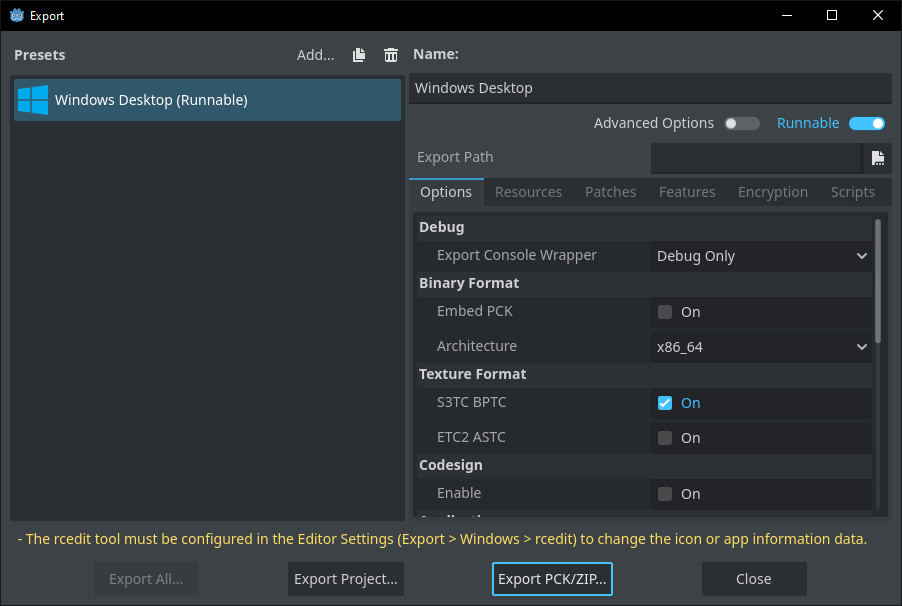
To now start configuring our Windows Desktop preset, we first need to select the location that the engine will build our project to.
Click the file button next to the Export Path section to select this folder location on your computer.
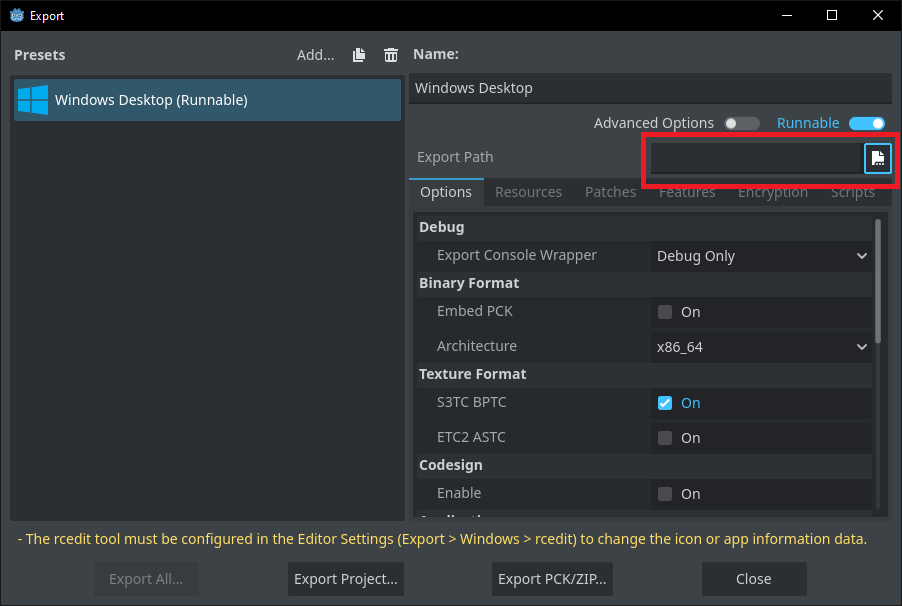
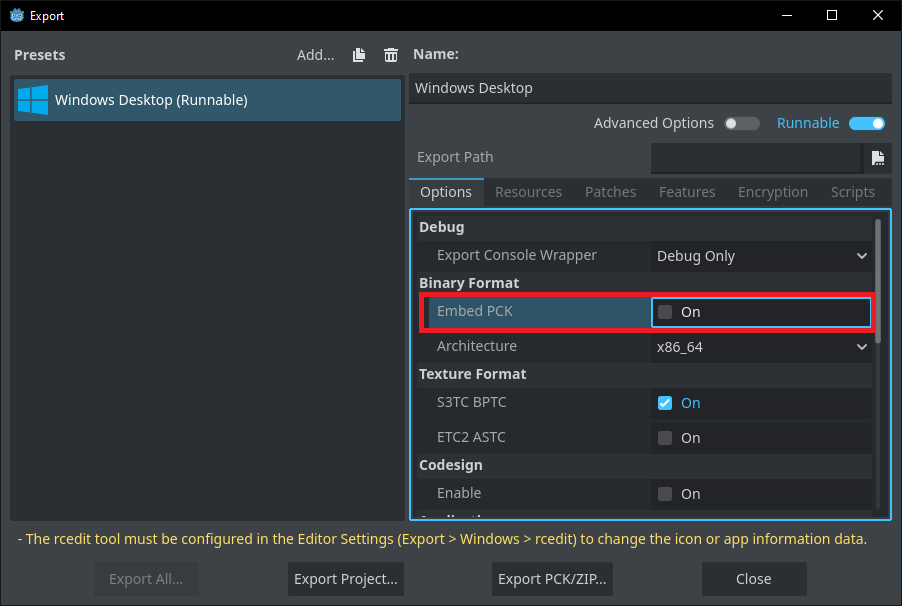
Next we need to decide if we want our game files to be along side the executable or if we want the files to be merged inside of the executable file.
If this is false, your game files and assets are in a separate .PCK file alongside your game executable.
We recommend to set this to true to make it easier to share your built game with only a single file.
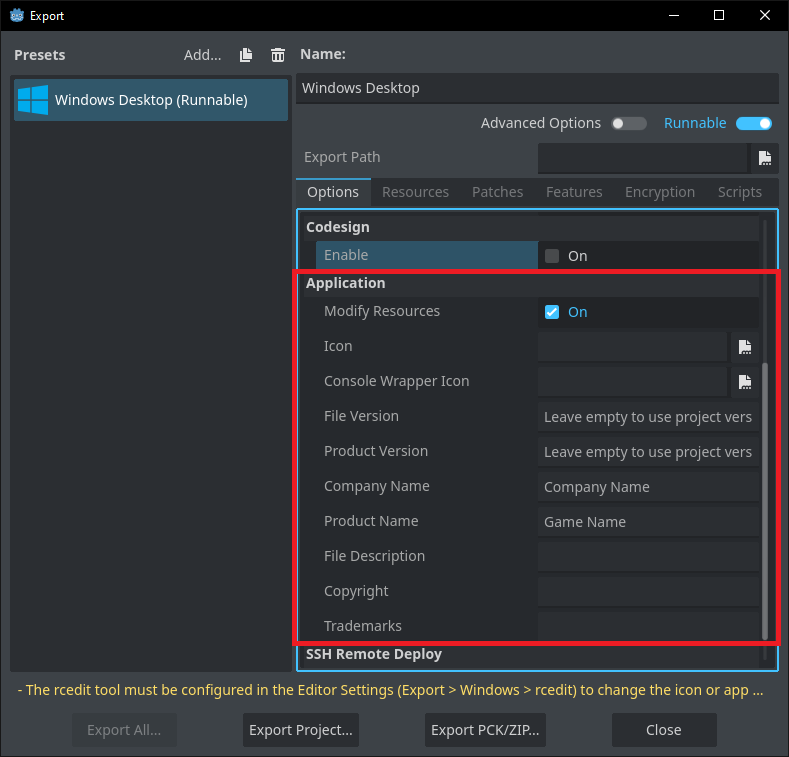
Lastly, we now can change the Application details for our executable.
This means setting a company name, product name, icon, copyright notice, and any additional trademarks or details that you want to include inside of your executable.
You can leave these blank if you are testing but we recommend changing these details to make your final game files appear more professional and polished.
Exporting the Project
Now that we have our Windows Desktop export preset made and ready, now we can simply click the Export Project button!
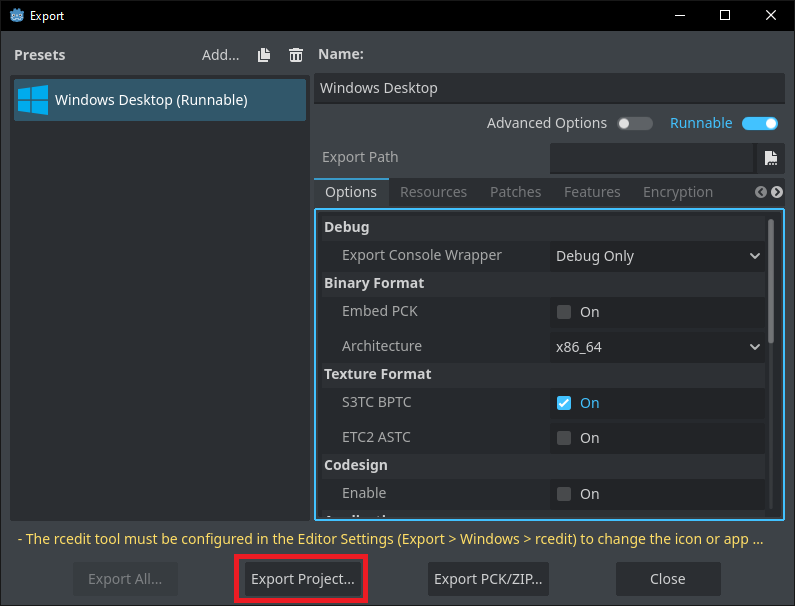
We can then choose where we want the files to build to and can also change the name of the exported executable file.

After a quick build process, you now see your project has been exported to an executable form!

Conclusion
You’ve now successfully exported your Godot project to Windows! Your game is now packaged as a standalone executable and ready to be shared with players!
This file can also be uploaded to platforms like Itch.io, GameJolt or Steam.
Understanding the export process is a key aspect of developing and releasing a game to a wider audience.
You’ve just taken an important step toward delivering your work to the world. Keep building, refining, and prepare your game for the world!
Leave a Reply