
Building your Godot project into a Linux executable and using the Steam Deck Devkit client is the best way to test your game on real Steam Deck hardware.
In this guide, we’ll walk through the full export process in Godot.
- First configuring your export settings to generating a working elf file
- Downloading and use the Steam Deck Devkit client to upload your game files wirelessly to your Steam Deck.
- Then launching your Godot game inside of the Steam Deck library.
By the end of this guide, you will have a native and standalone version of your game that’s ready to distribute to others!
Prerequisites
This tutorial is written for developers using Godot 4 and focuses specifically on Steam Deck Native Linux as the target platform.
This guide requires you to have:
- A Godot project that is ready to be tested (at least a basic scene and camera setup)
- Installed the export templates to your version of the Godot Engine.
If you do not have these installed, click here to read our guide on How to get Export Templates for Godot.
Setting up the Linux Export
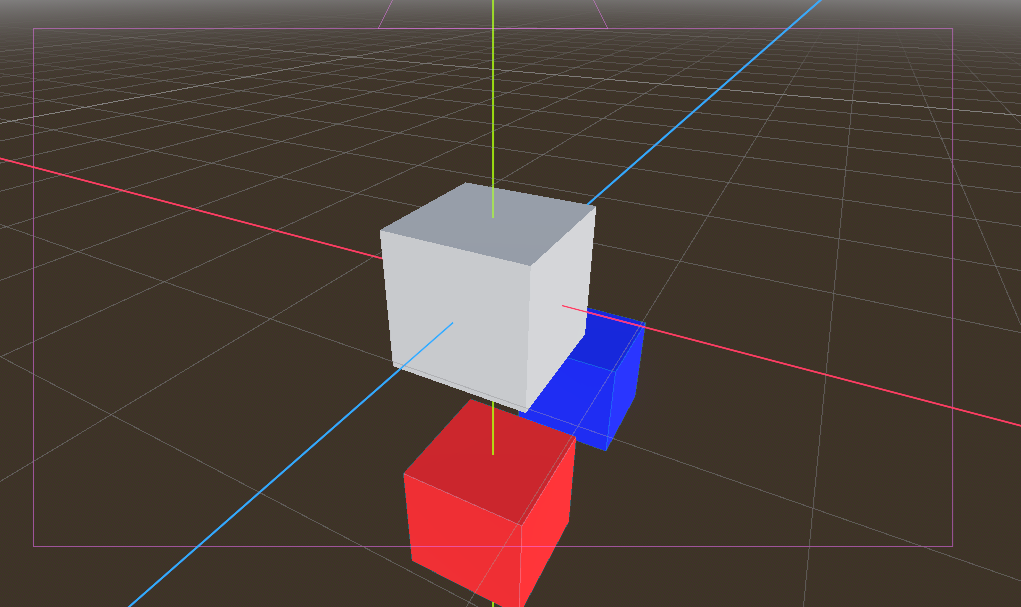
We have created a basic project with some cubes and a camera. This helps us to test that the Steam Deck version is working.
For your project make sure that it is at least working in the editor before progressing further in this guide.
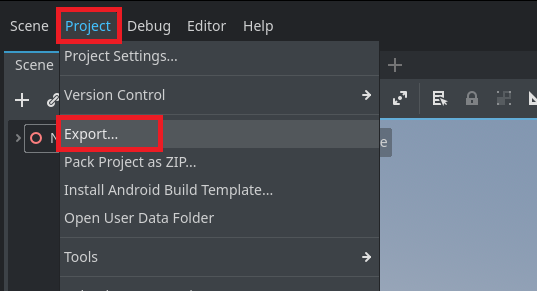
To setup our Steam Deck Linux Export preset, we first have to open the export menu by clicking Project then Export in the top left menu of the editor.
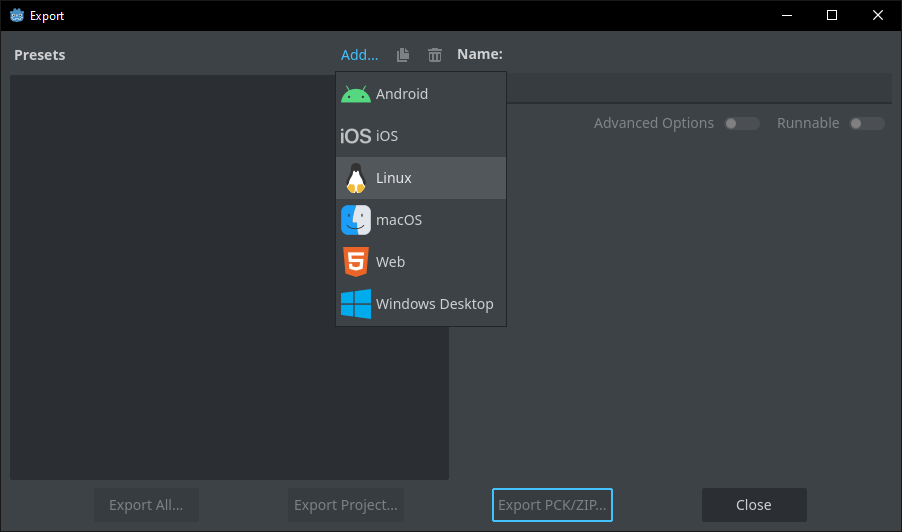
Then we click Add in the top of the Export menu and click Linux.
Now you should see a new a new Linux preset. We can change the name by changing the text in the top “Name:” section of the window.
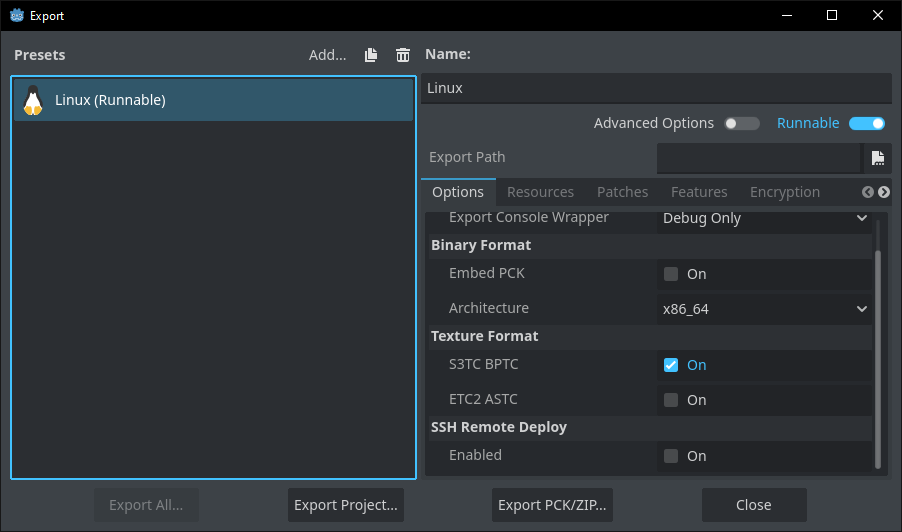
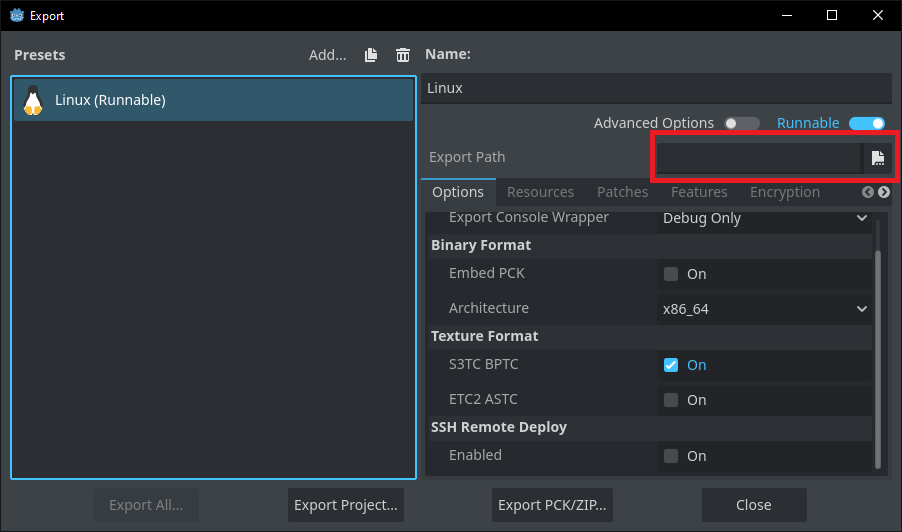
To now start configuring our Linux preset, we first need to select the location that the engine will build our project to.
Click the file button next to the Export Path section to select this folder location on your computer.
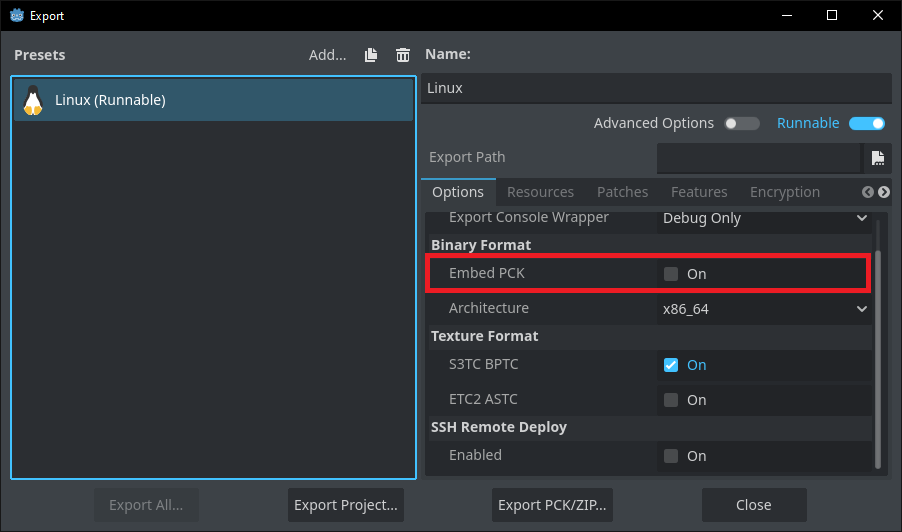
Next we need to decide if we want our game files to be along side the executable or if we want the files to be merged inside of the executable file.
If this is false, your game files and assets are in a separate .PCK file alongside your game executable.
We recommend to set this to true to make it easier to share your built game with only a single file.
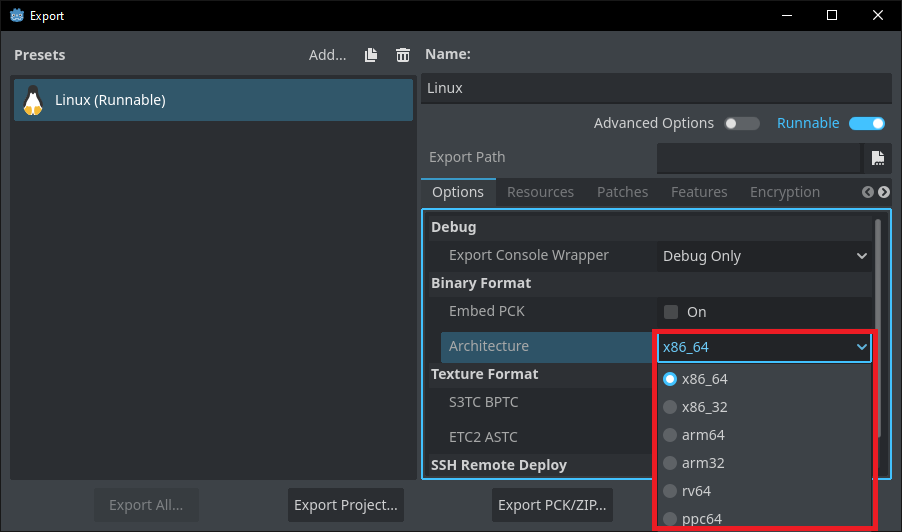
Finally, we can choose the x86_64 target platform architecture for our executable.
The Steam Deck architecture is x86_64 so we need to choose this option in the drop down list.
Exporting the Project
Now that we have our Linux export preset made and ready, now we can simply click the Export Project button!
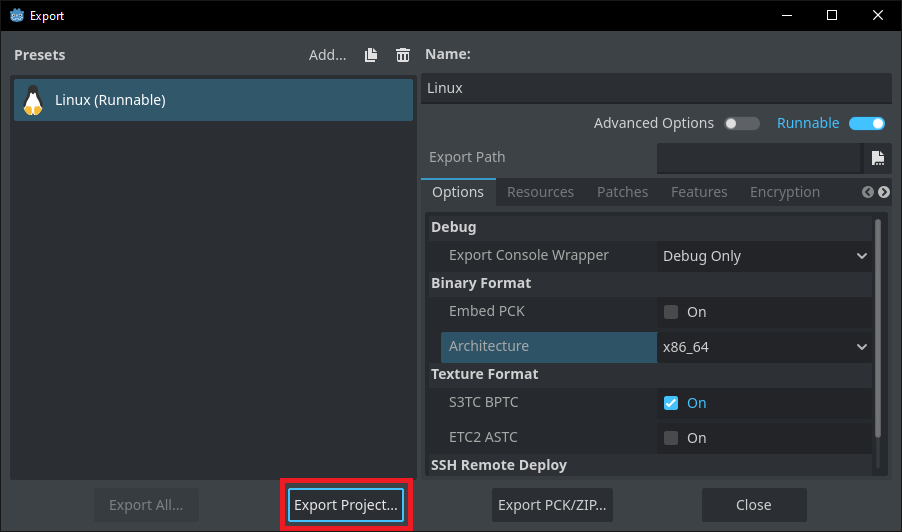
We can then choose where we want the files to build to and can also change the name of the exported executable file

After a quick build process, you now see your project has been exported to an executable form for your target Steam Deck Linux architecture!

Uploading to the Steam Deck
Click here to add the SteamOS Devkit client app to your Steam account
Or
Click here to follow the direct install link on the Steam Deck official documentation
You should now see the SteamOS Devkit client app in your Steam library.
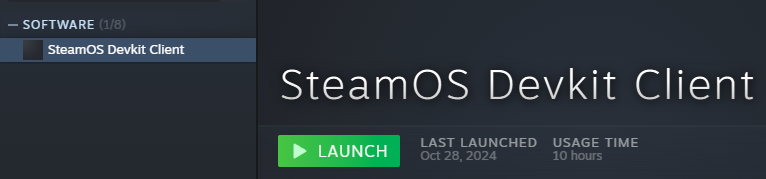
Once we have the SteamOS Devkit client downloaded in our Steam library, open the app to see the devkit menu.
Connecting your Steam Deck to the Devkit
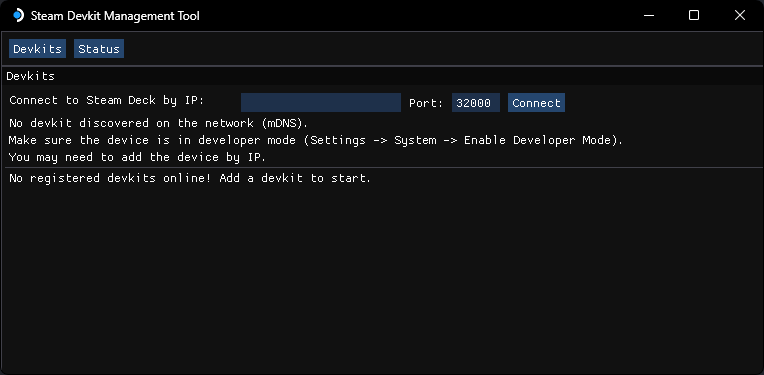
Opening the SteamOS Devkit we can see the main connection screen.
We first need to enable developer mode on our Steam Deck for the tool to work.
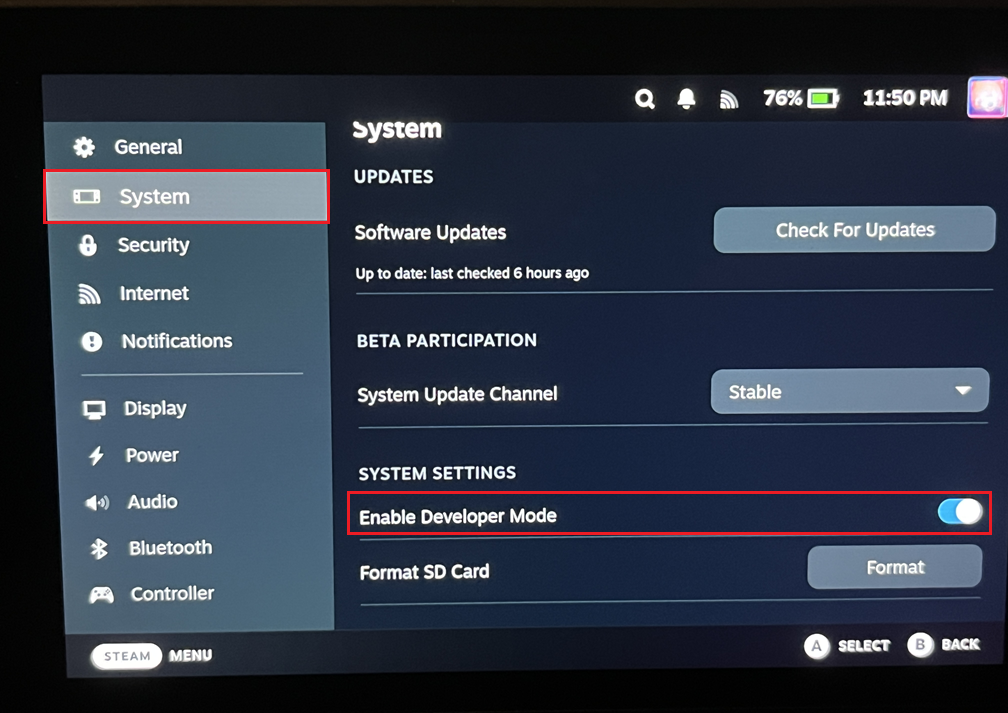
On the Steam Deck, go to the Settings, click System, then make sure Enable Developer Mode is on the right side and showing blue.
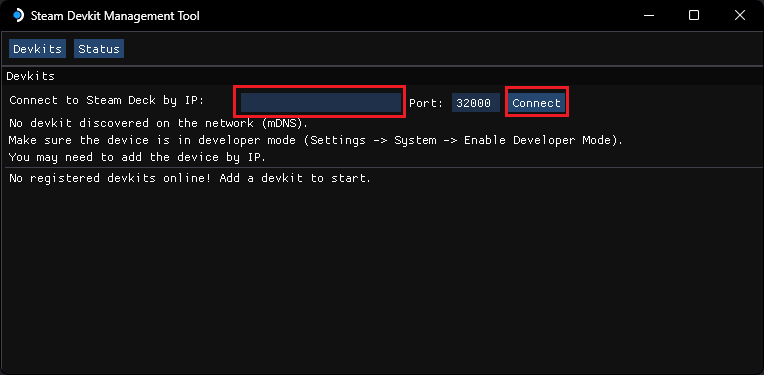
Now, back in the SteamOS Devkit tool, type your Steam Deck ip address into the box and then press Connect.
You can get your Steam Deck IP Address by going to Settings, Internet, and pressing the A button on your wifi connection. This will show your MAC ADDRESS and underneath you should see your Steam Deck’s IP Address.
Both the Steam Deck and your Computer must be on the same WIFI network for this to work correctly!
Uploading the game build to the Steam Deck
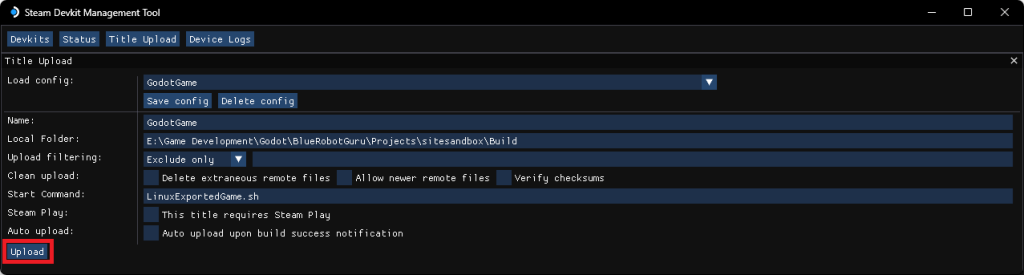
Now that your Steam Deck has connected succesfully, click the Title Upload button at the top of the tool.

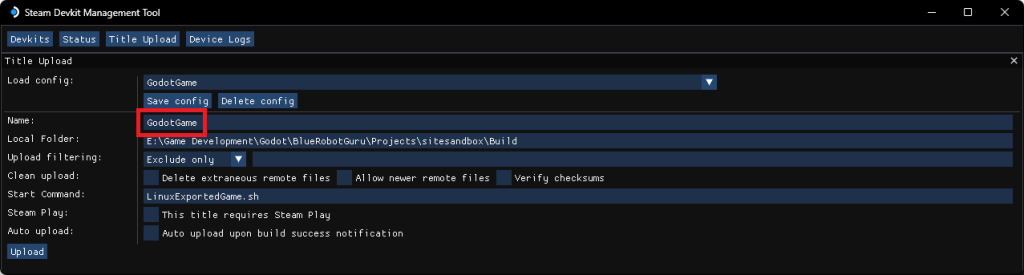
Now we can set our game’s settings for the tool to upload to your Steam Deck.
First, we set the Name to the name of our project. In our case we set it to GodotGame for testing.
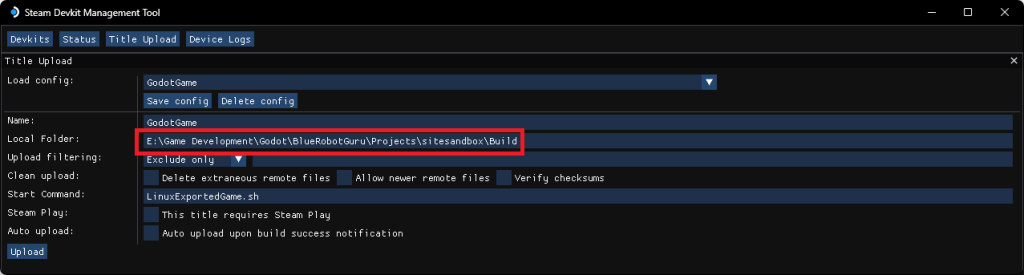
Next, copy and paste the full path of your game’s exported files that we created earlier. This folder should contain the .x86_64 file and the .sh file.
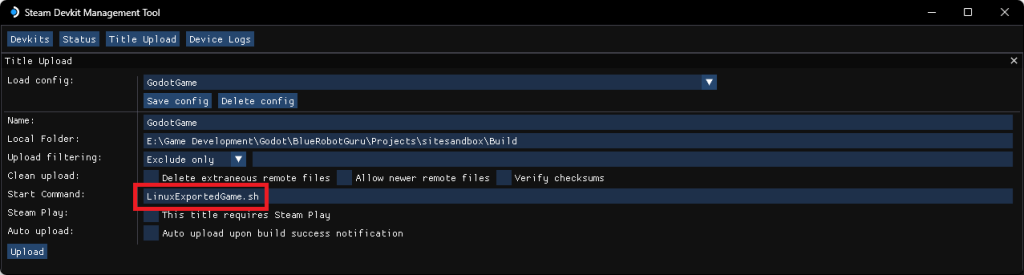
Then, type the name of the .sh file inside of the export folder we created earlier.
Next, click the “Save config” button to save these settings. The next time you go to the Title Upload tab these settings will be saved making it faster to test your game on the Steam Deck.
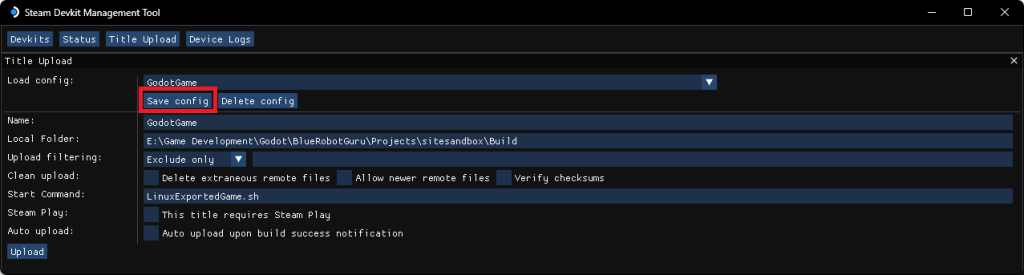
Lastly, click the upload button and wait for the upload to finish.
Running your game on the Steam Deck
If you followed the steps correclty, in the Other Games tab on the Steam Deck Library you can now see your Devkit game!
Press the A button to enter the game info and then press A again to play your Godot game natively on the Steam Deck!
Conclusion
You’ve now successfully exported and ran your Godot project on the Steam Deck! Your game is now packaged as a native standalone executable and ready to be shared with players!
This file can also be uploaded to platforms like Steam boosting your game’s reach with Steam deck compatibility.
Understanding the export and Steam Deck devkit process is a key aspect of developing and releasing a game to a wider audience on the Steam Deck.
You’ve just taken an important step toward delivering your work to the world. Keep building, refining, and prepare your game for the world!
Leave a Reply