
Signals in Godot are one of the engine’s most powerful features. They allow nodes to communicate with each other in a clean and decoupled way, making your game logic modular and easier to manage!
In this guide we cover what signals are, how to connect and emit them, and how to use both built in and custom signals in Godot.
This tutorial is ideal for beginners and intermediate users looking to improve their understanding of Godot’s event system.
Want the complete Godot project files for this guide? Download the full project on here.
What Are Signals in Godot?
A signal is a way for one node to announce that something has happened. It’s Godot’s implementation of the observer pattern, commonly used in game engines to handle events like:
- A button being pressed
- A player entering a zone
- A timer finishing its countdown
- A character losing health
When a signal is emitted, any connected code in other scripts will be run. This creates a powerful and flexible system for communication between nodes without requiring direct dependencies.
This keeps your code cleaner and easier to maintain over the lifetime of your project!
Connecting Built-in Signals in the Editor
Godot includes many built-in signals that come with its nodes. You can connect these without writing a single line of code.
In this guide we are going to use a simple User Interface button to explain how these signals work.
All nodes have some signals to practise with so feel free to follow along with this guide then experiment without your own project’s nodes.
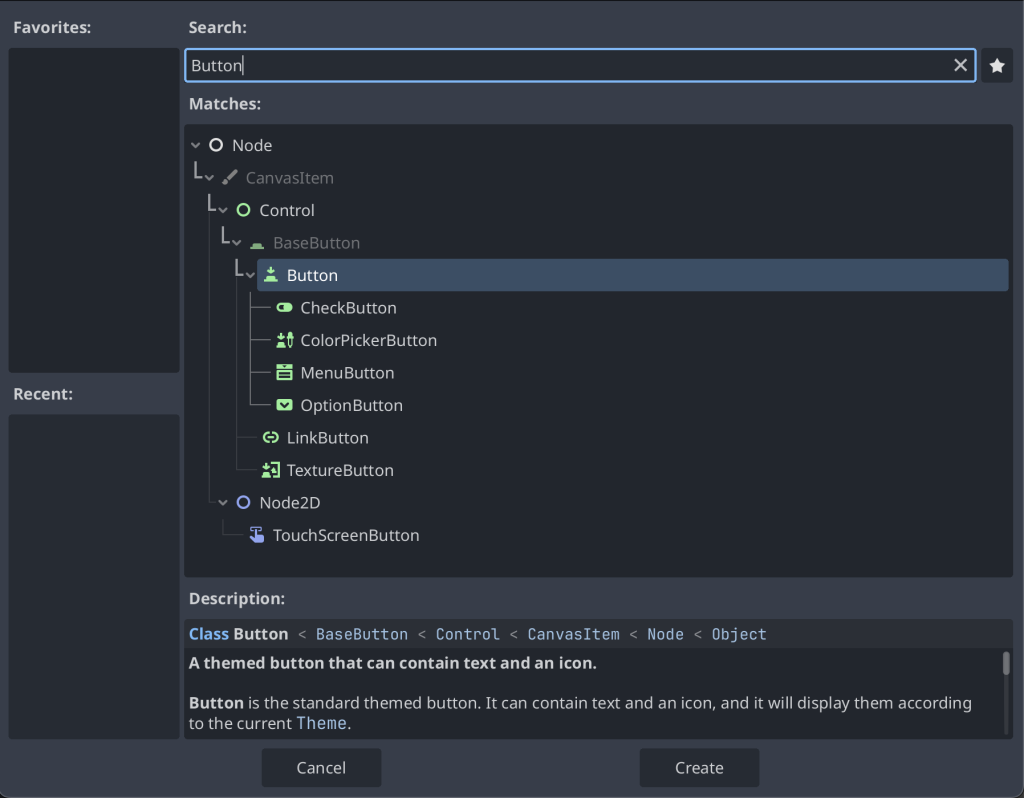
First, we add a Button node to our user interface scene. We have called our button “AutoSignal”.
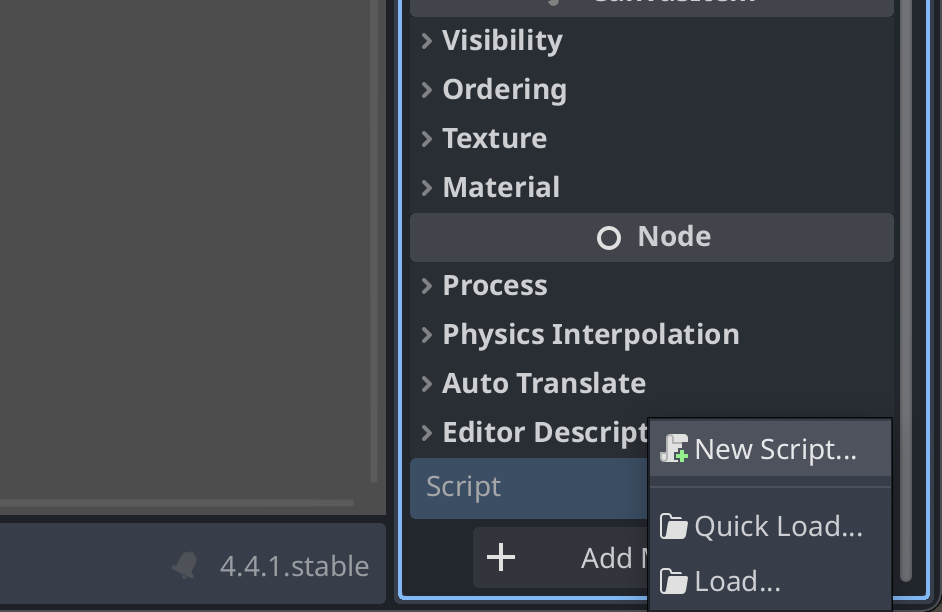
We also need a script our root scene node. Click the top node in our scene hierarchy.
The scroll to the bottom of the inspector, click <empty>, then and add a new script.
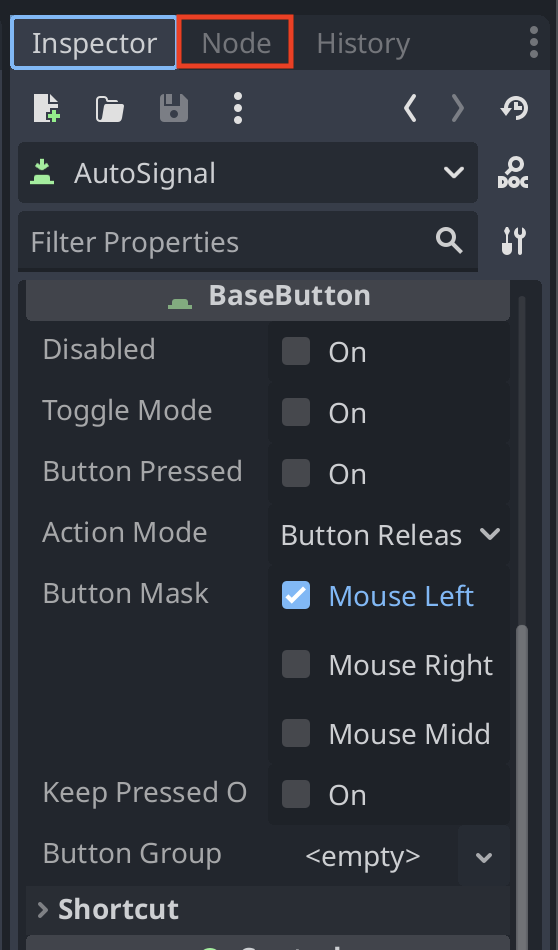
Then, select the Button and go to the Node tab next to the Inspector.
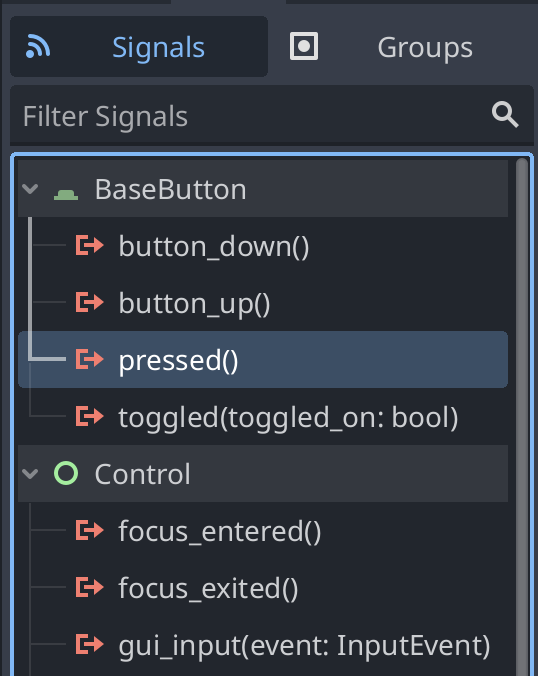
Double click the pressed() signal.
Next, choose a node to connect to; usually the one with your main script. Then set a name for your function or leave it the default value and click the Connect button.
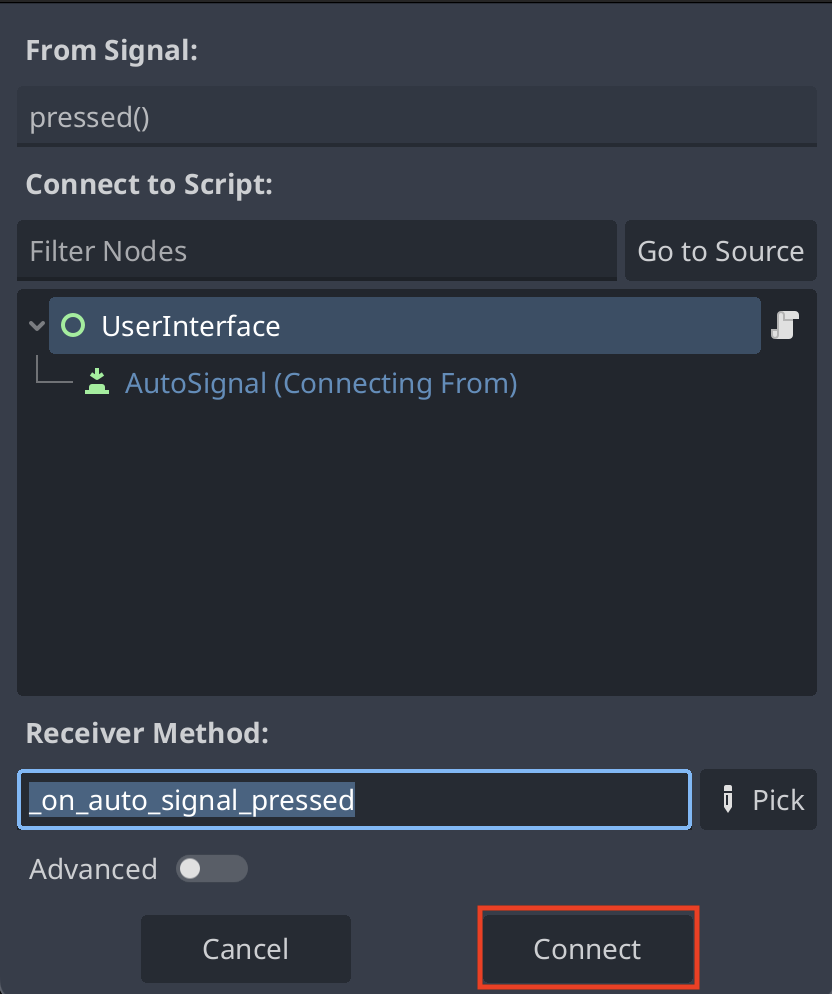
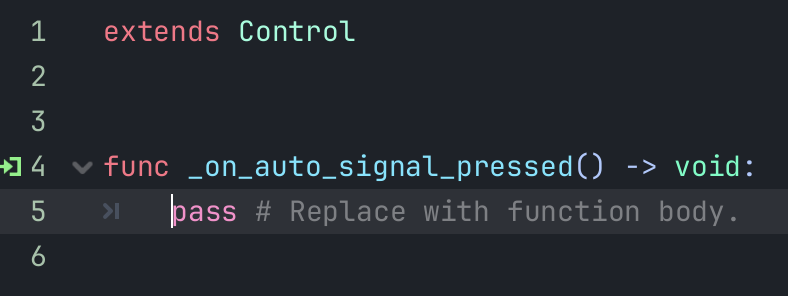
Godot will create a new function in your script automatically!
Every time the player clicks the button, the signal is emitted and our connected function runs.
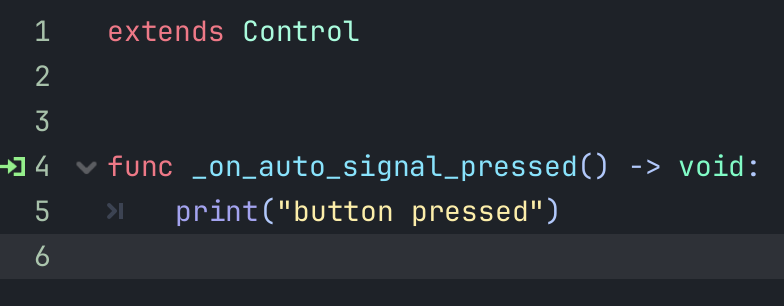
We can then add some basic functionality to test our new signal. In this case we will add a print() function that prints the words “button pressed” to our output log at the bottom of the editor window.
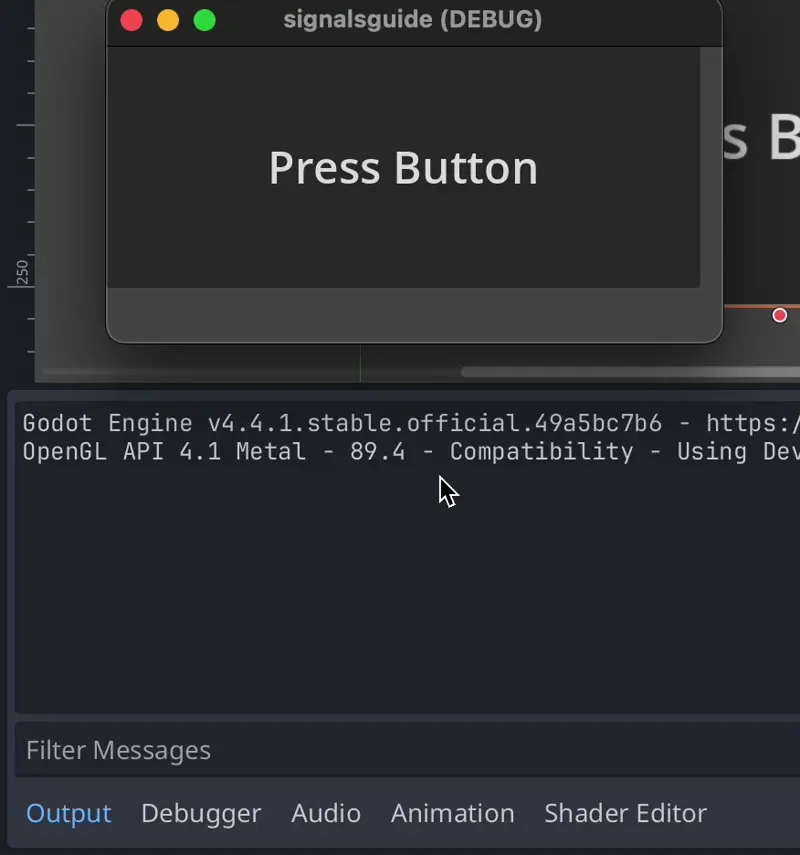
Now when we run our scene and press the button, we can see the output log text being added!
Connecting Signals Using Code
You can also connect signals in your scripts which is useful when creating nodes dynamically.
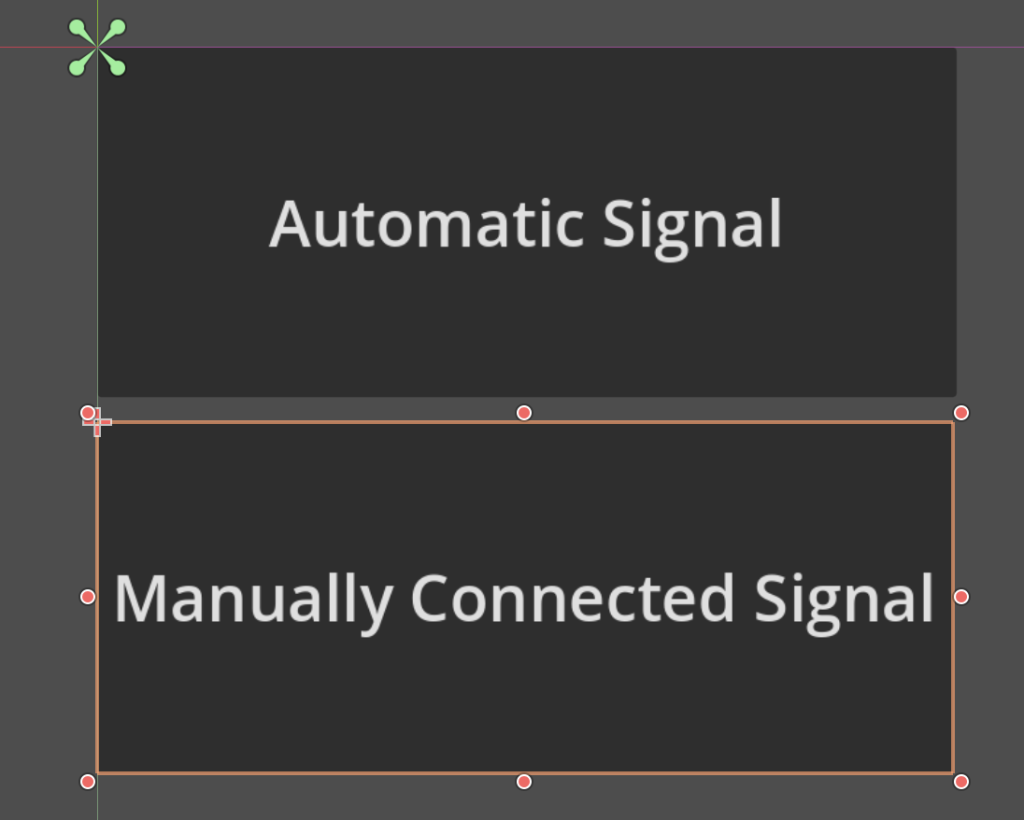
Firstly, we create a new button to our scene. In this case we renamed the previous button’s text to “Automatic Signal” and set our new button’s text to “Manually Connected Signal”.
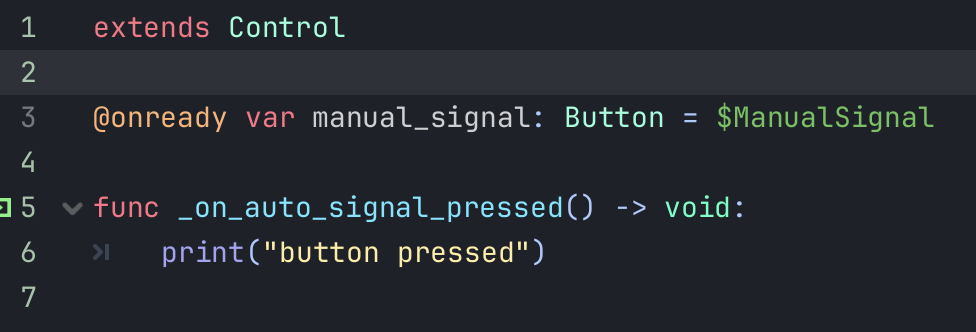
Next, add a on ready reference for our button node by holding CTRL + Shift (CMD + Shift on Mac) and dragging our node into the script window.
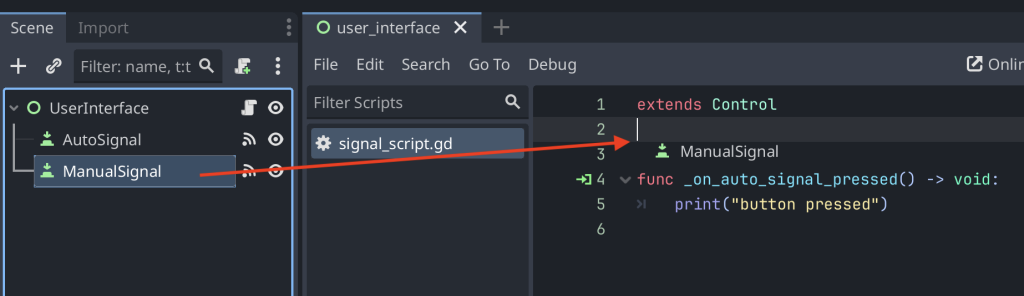
Now whenever we use ManualSignal in our code, the engine knows we are talking about that specific button node!
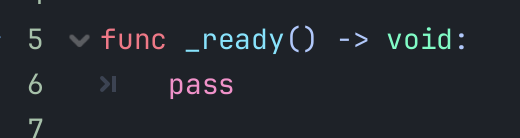
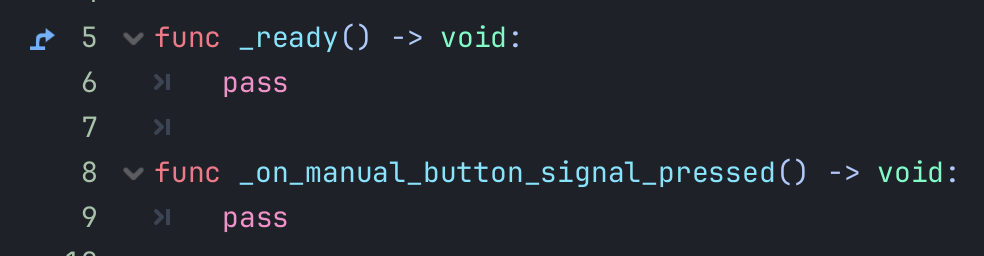
Now we create a Ready function in our code like so.
Next, we then create the function that out signal will run on when our new button is pressed.
Now that we have our functions ready, we can finally connect our signal to the function.
We first use the manual_signal reference to our button and run the connect function on it. We pass through the signal name we want to connect to, in this case “pressed”, and then give the function name we want to run!

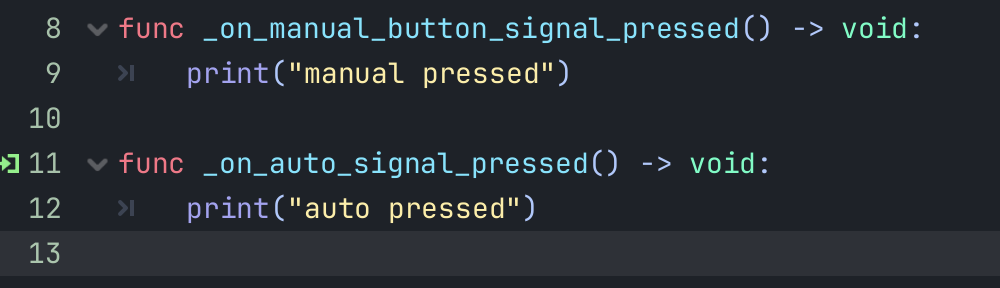
Finally we can add another print function to our manual button function to print that into the output log each time the button is pressed.
Now we can see both of our buttons and their signals working in the game view!
If you ever feel that during your game code you need to disconnect a signal, you can easily do that by adding this code to your script.

Emitting Custom Signals
As well as engine signals, Godot allows you to create your own signals to add flexibility and clean links between your custom functions and features in your game.
Creating our Custom Signal
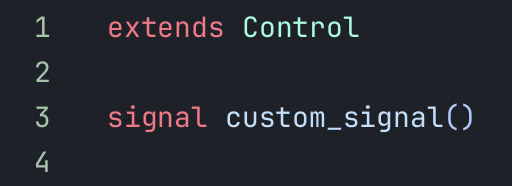
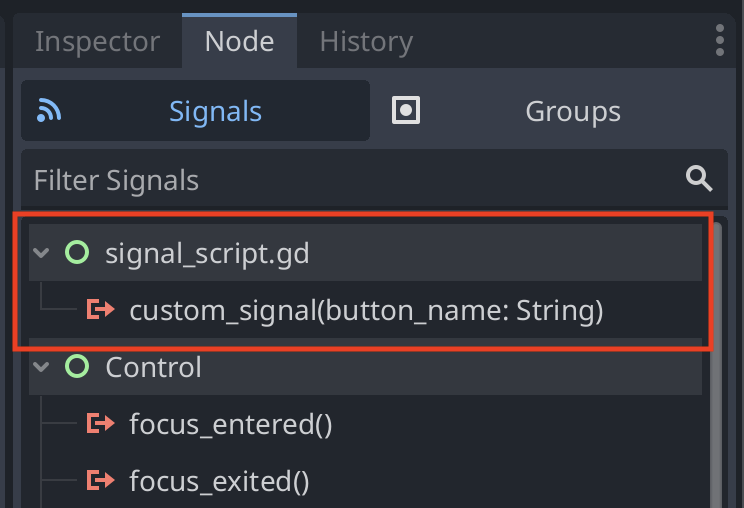
To add our own signal, firstly at the top of your script, declare a new signal like this.
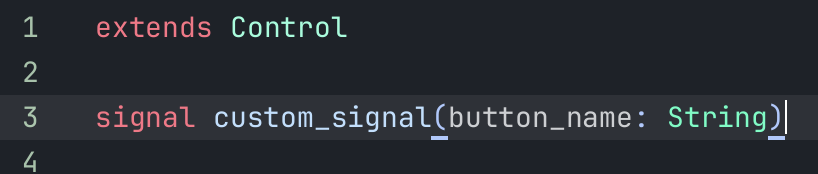
You can also optionally include parameters to your signal.
Emitting our Custom Signal
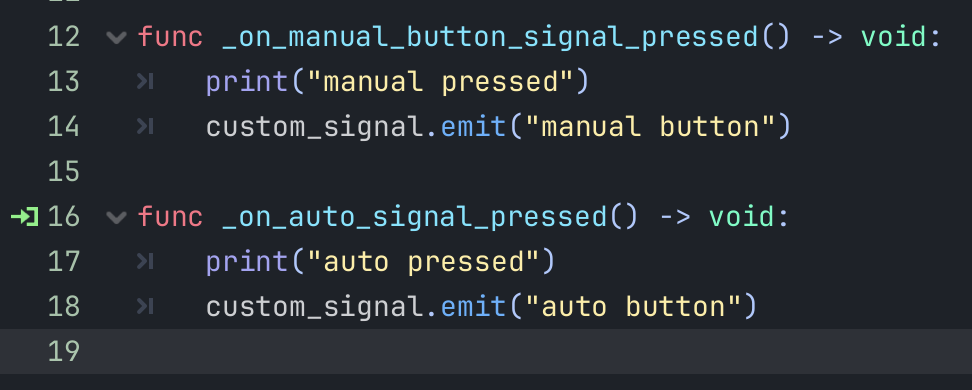
Now that we have declared our custom signal, we can then emit our signal from our code. When our signal’s emit function is run this is what runs the connected functions elsewhere in your code.
In this example we will be adding the emit function to both of our buttons and adding the button name of each as the parameter we pass through.
Connecting the Signal
Now we have our signal emitting events, we need to connect it like any other signal.
You can connect your new signal automatically using the editor.
With the function created here.

Or manually using code.

Now in our newly created on_custom_signal function, we add another print function that prints the value of our “button_name” parameter to the output log.

Now when we run the game, our button will now run it’s own signal and the custom signal!
Signals Between Different Nodes
In the last few examples, we have shown signals created, emitted, and connected inside the same script with nodes that are children of the root scene node. This was done to make it easier to understand the basics.
The real power of signals is connecting to signals on completely different nodes and running code without coupling the two systems together. This makes your code cleaner and easier to maintain over time!
For example, your Enemy node can emit a died signal when defeated, and your GameManager script can connect to it without the two nodes directly referencing each other.
As your game scales, using signals makes further iteration and adding features easier to work with especially with a team!
Project Files
Conclusion
You now have a solid understanding of how signals work in Godot!
You’ve learned how to connect built-in signals, create custom ones, and use them to make different parts of your game communicate cleanly and efficiently. By mastering signals, you’ve taken a big step forward in writing modular, event-driven code that keeps your project organized and scalable.
Whether you’re wiring up a user interface, triggering game events, or managing state transitions, signals are a core feature every Godot developer should master.
Leave a Reply